

Use this guide to record one expense in the Posa web app — for example fuel, supplies, or rent. Amount and Expense Date are required. Everything else is optional, but a note and an expense type make the list easier to read later.
On a free plan, Posa may ask you to upgrade after a few expenses. Do not use More or Filter for this guide — More is for importing many expenses from Excel, and Filter only changes what you see on the list.
1. Open Expenses
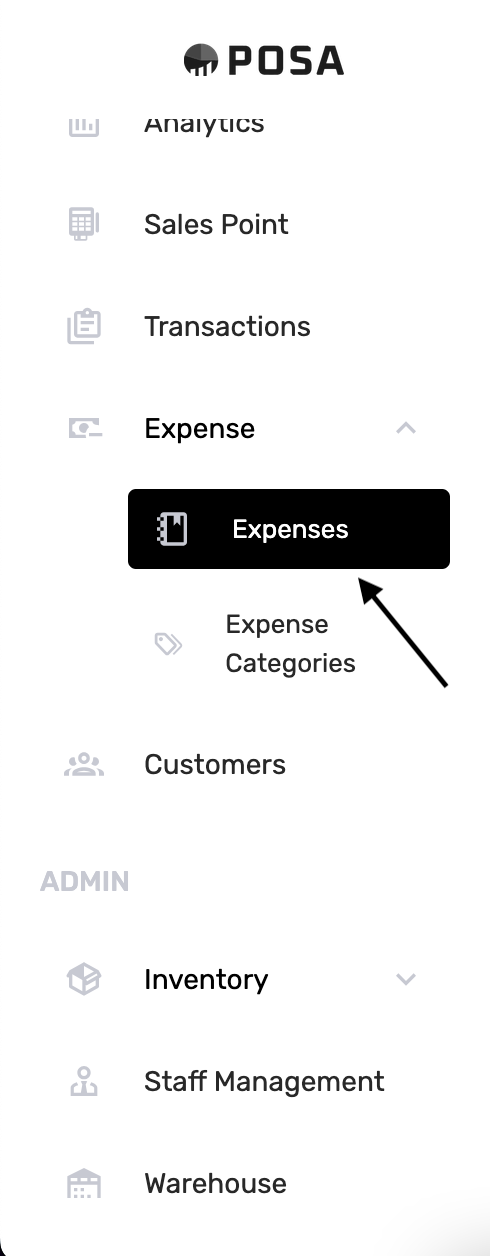
On the left sidebar, under MENU, click Expense to open the menu, then click Expenses. The menu item turns black when it is selected. You do not need Expense Categories for this guide.
2. The Expenses page
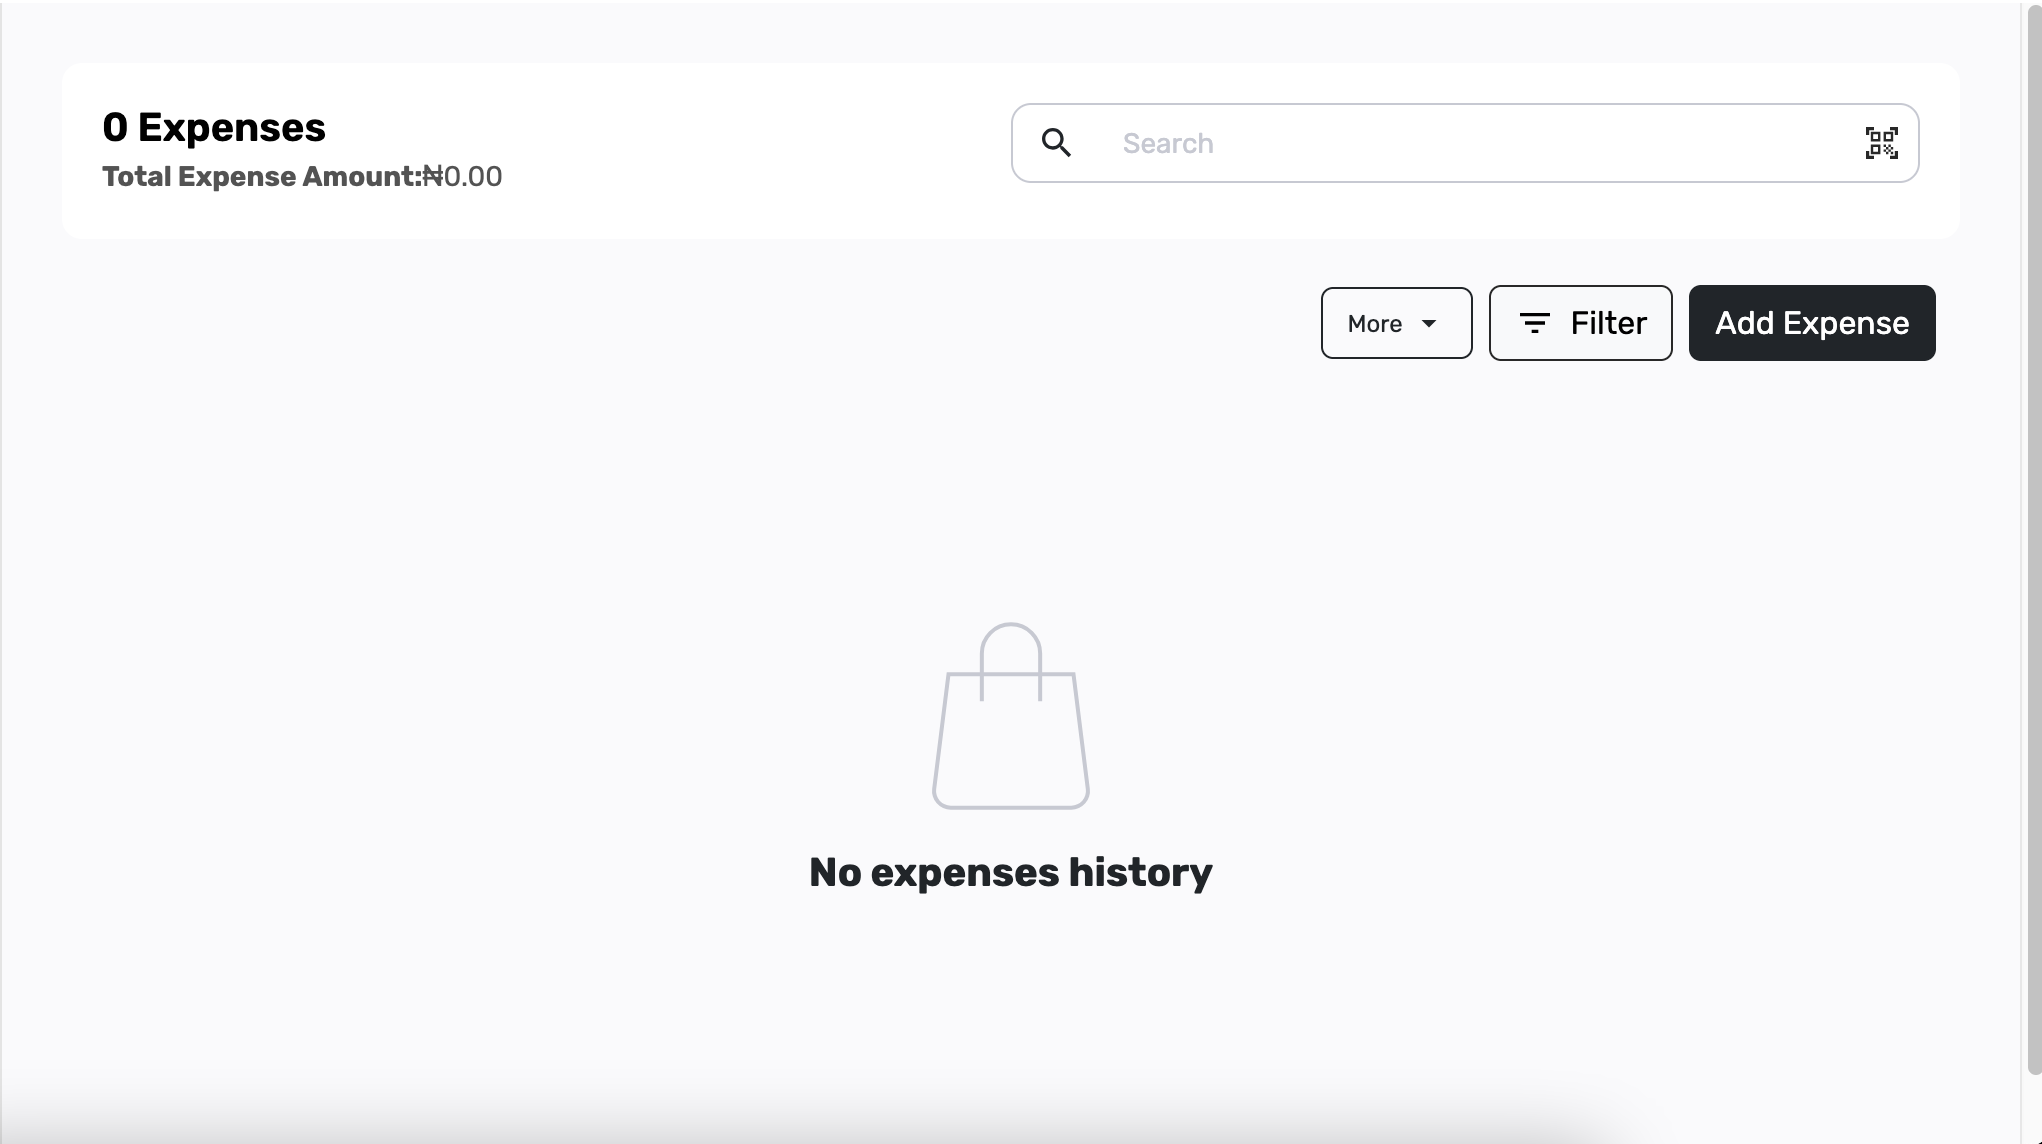
You should see a page titled Expenses, with Total Expense Amount under it. If you have not recorded any yet, it shows 0 Expenses and No expenses history. Add Expense is on the right. If you see that, you are in the right place.
3. Click Add Expense

On the right, click Add Expense. Leave More and Filter for another time.
4. The Add Expense page
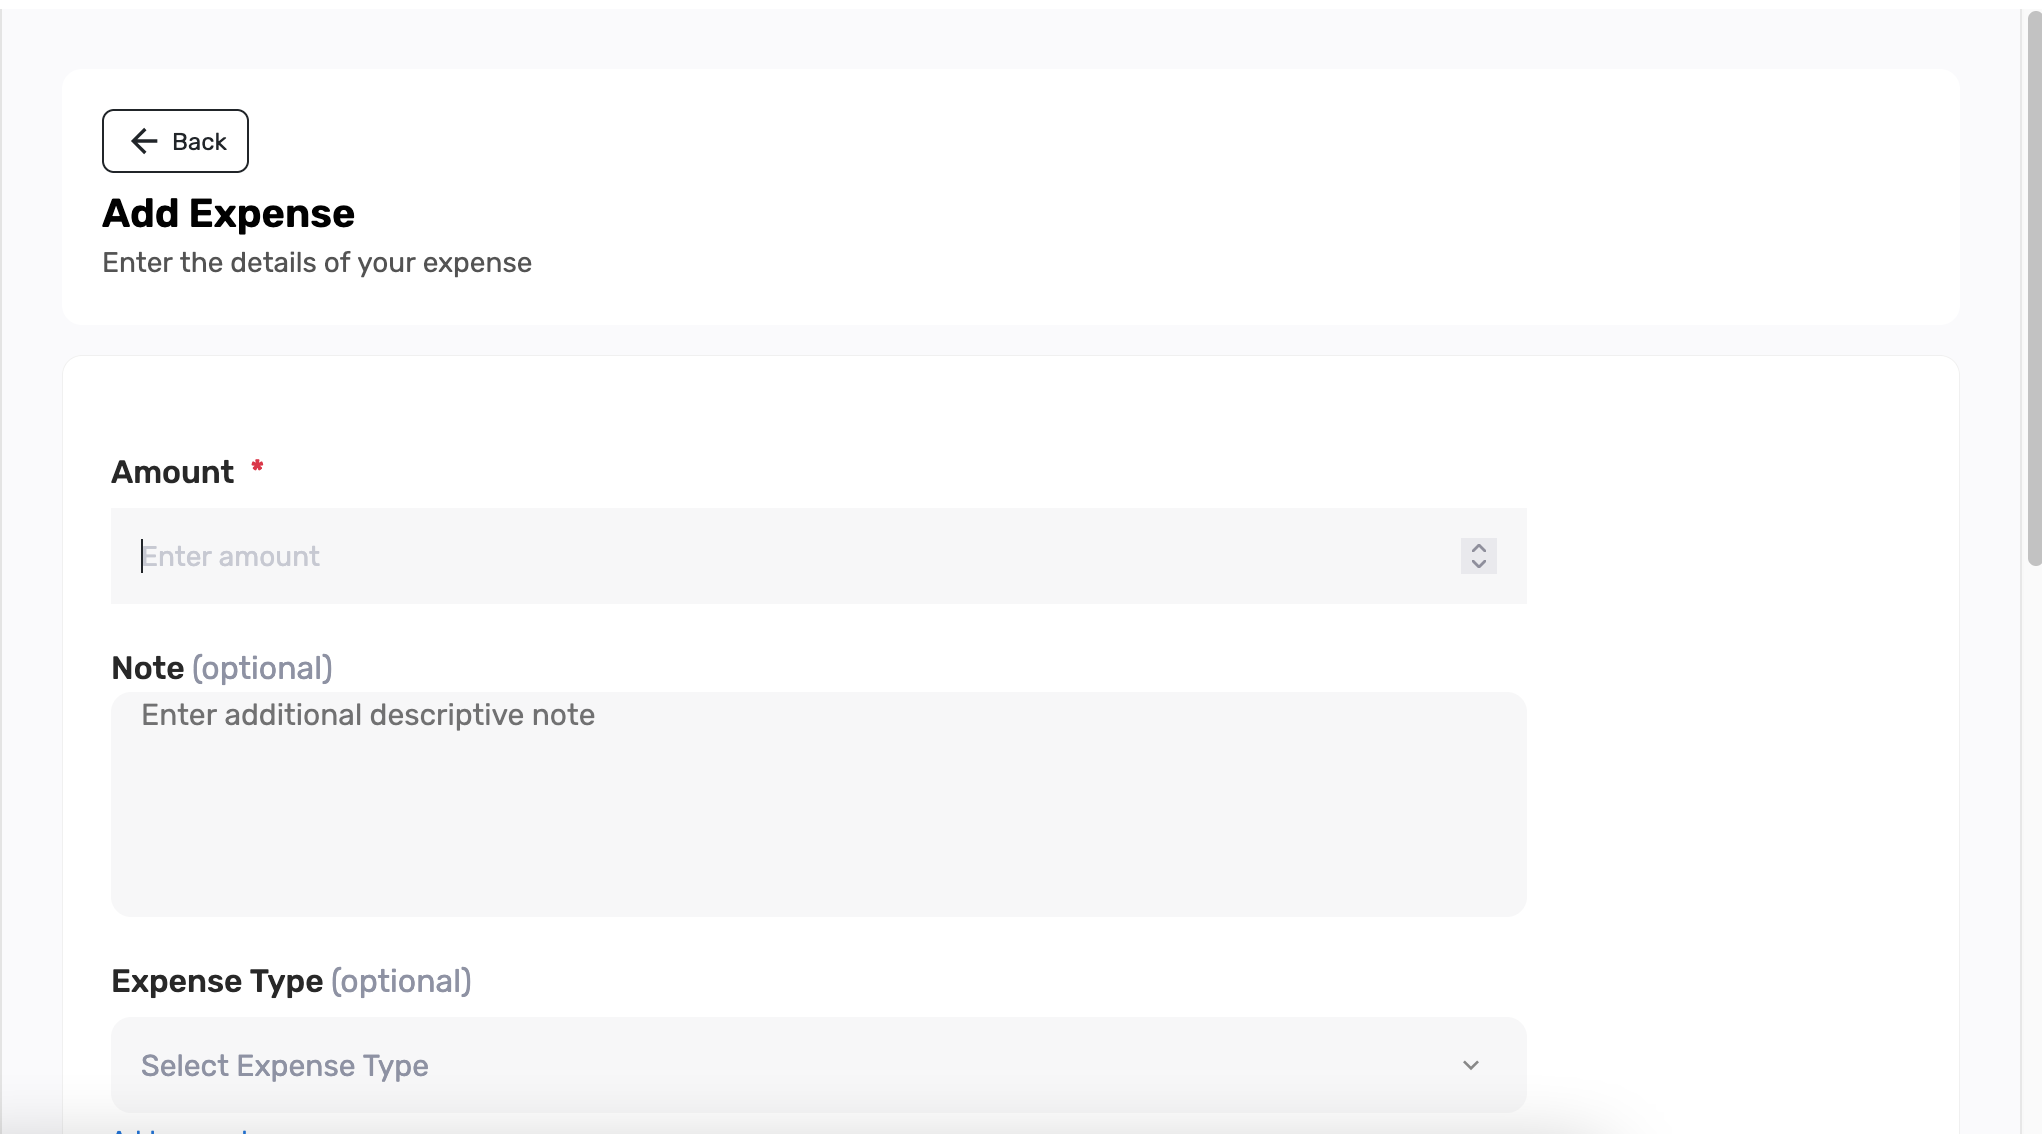
A page titled Add Expense opens, with Enter the details of your expense under it. Fields with a red star are required. Fields marked optional can stay empty.
5. Enter the amount and a note
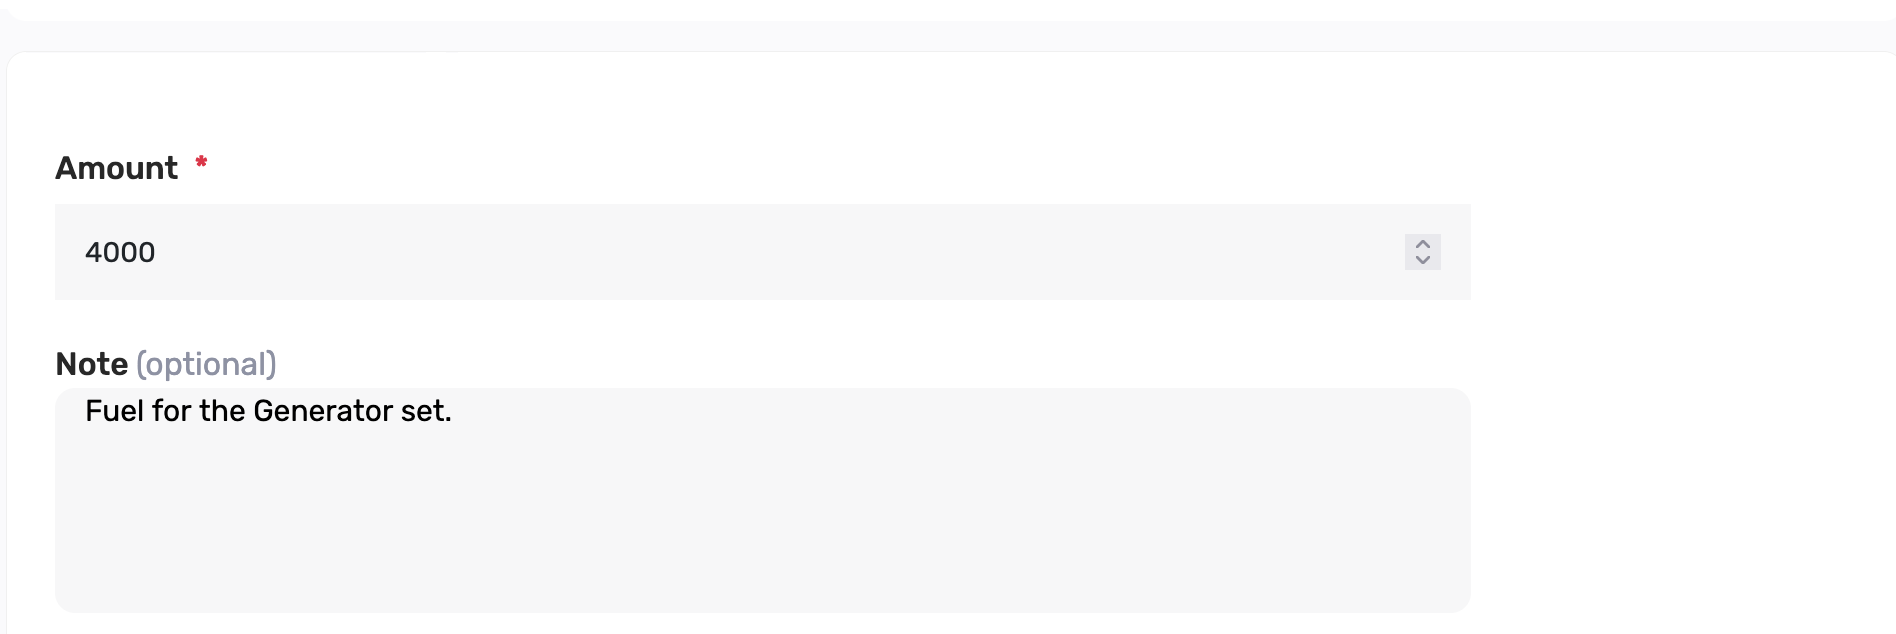
In Amount, type how much you spent — for example 4000.
Note is optional. Use it to remind yourself what the money was for — for example Fuel for the Generator set. The note is what you will search for later on the Expenses list.
6. Choose an expense type

Expense Type is optional, but it helps you group spend later on Analytics. If you already have types (for example Supplies), pick one from the list.
If the box still says Select Expense Type and you have none, click Add new category. You can also skip this step — the expense still saves, and Expense Type stays blank on the list.
7. Add a category if you need one
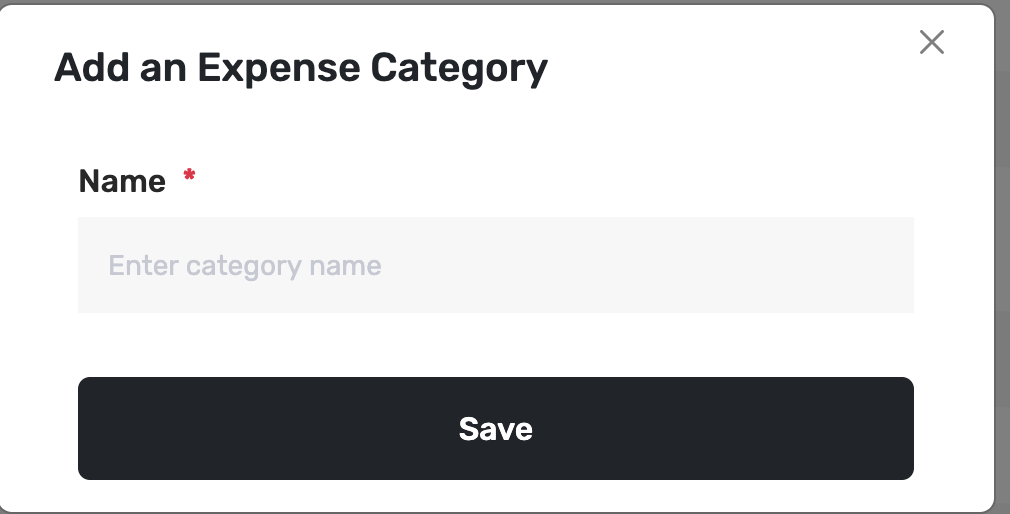
A window titled Add an Expense Category opens. Type a Name — for example Fuel or Supplies — then click Save. The new type appears in the Expense Type list so you can select it. If you already chose a type in the previous step, skip this window.
8. Reference number and vendor (optional)
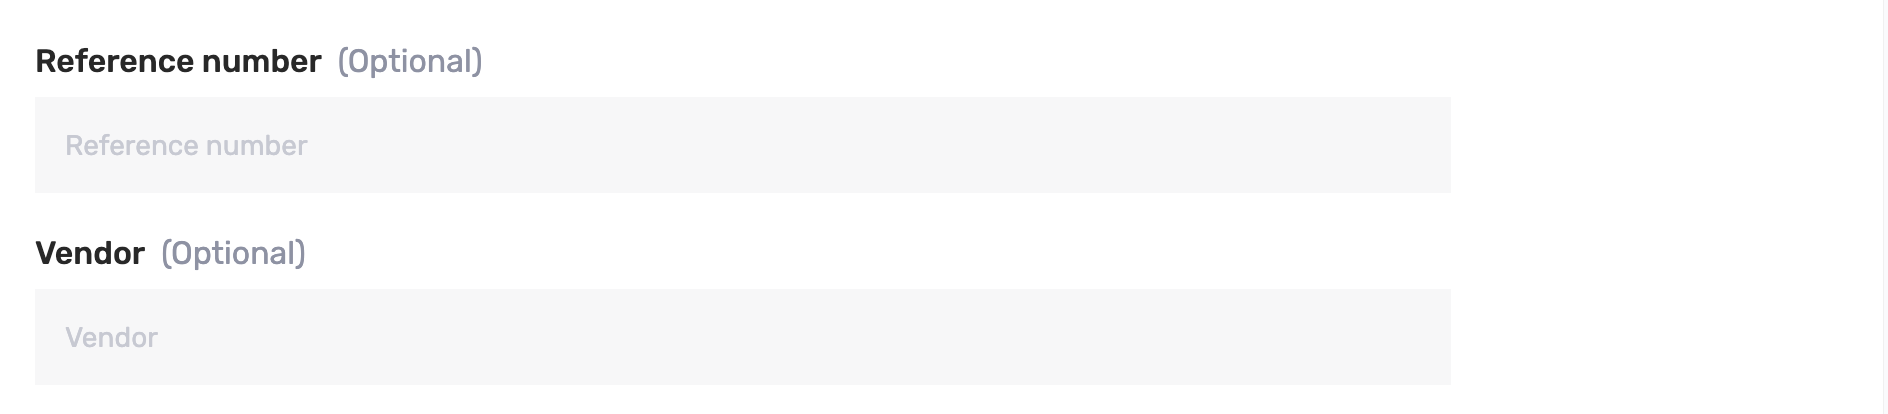
Use Reference number if the receipt has a number you want to keep. Use Vendor for the name of the shop or person you bought from — for example a filling station. Both are optional. You can leave them empty and still save the expense.
9. Set the expense date

Expense Date is required. Posa fills in today’s date and time for you. Change it if the spend happened on a different day.
10. Attach a file (optional)
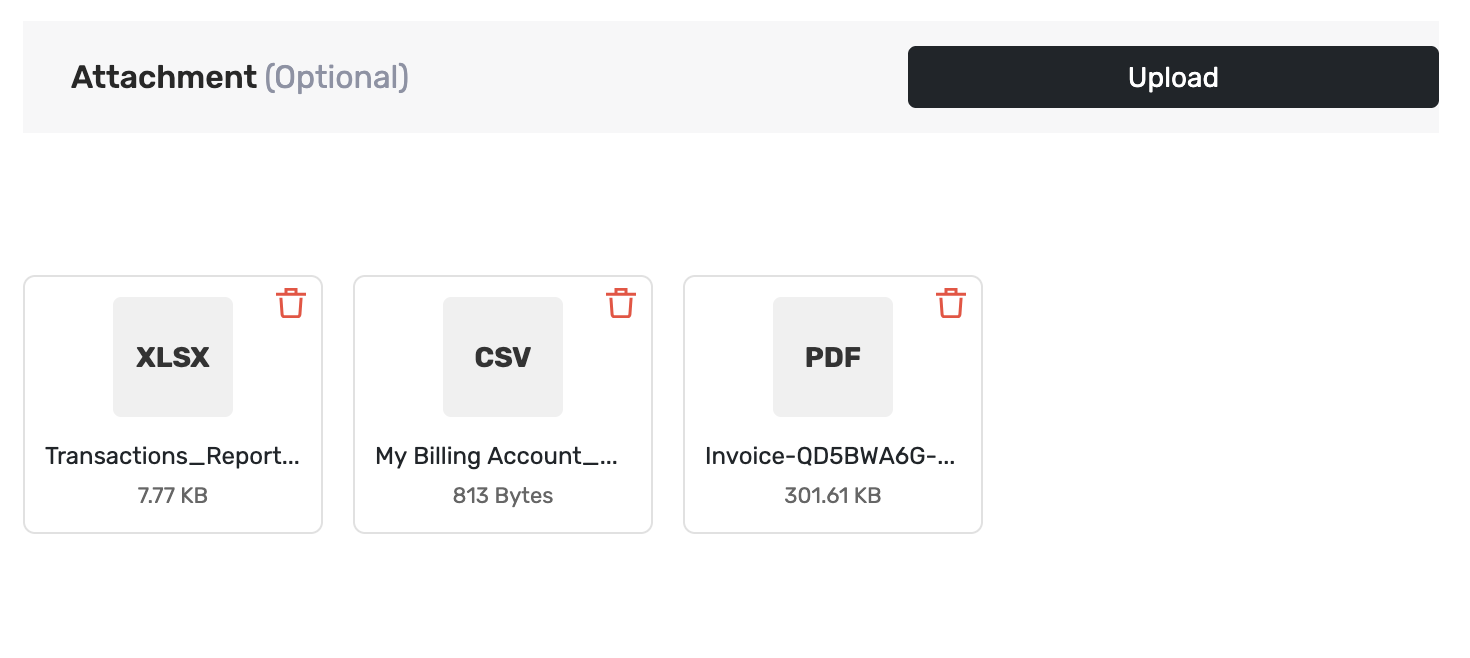
Attachment is optional. Click Upload if you want to keep a receipt or invoice with this expense. You can add a photo or a file such as PDF. Use the red trash icon if you picked the wrong file. You can skip this for a first expense.
11. Click Save

Scroll to the bottom and click Save. Posa records the expense and takes you back to the Expenses list.
12. Confirm it was recorded
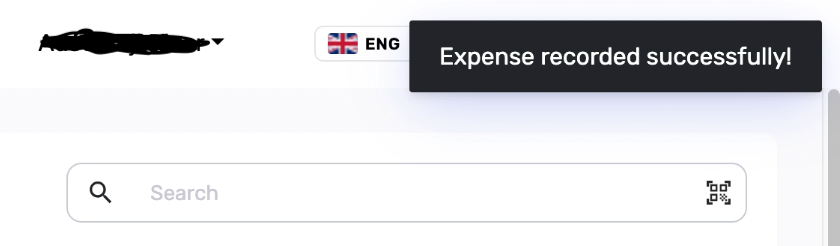
A short message appears at the top: Expense recorded successfully! If you see that, the expense is saved.
13. See it on the Expenses list
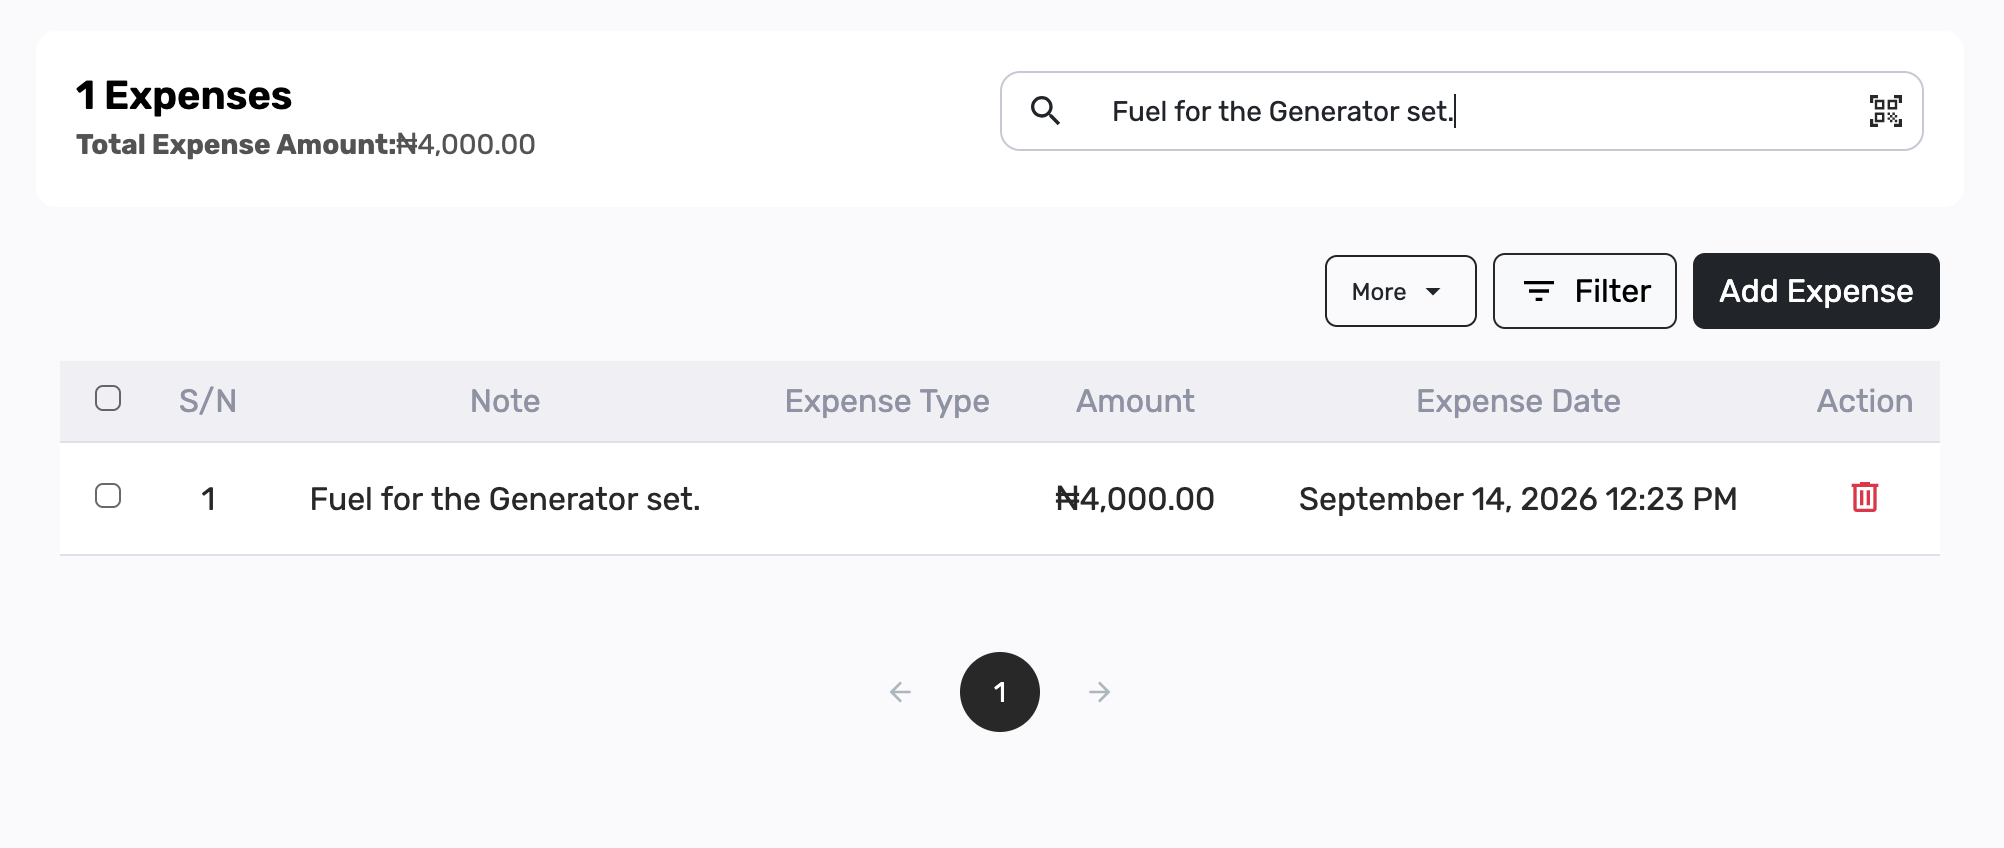
The page now shows 1 Expenses and the Total Expense Amount matches what you typed. The row lists your Note, Expense Type (blank if you skipped it), Amount, and Expense Date.
You can search by the note later. To see this spend on your report, open Analytics → Expense — see How to get your report on Posa.
Published by Posa Technologies · getposa.com
← More guides