

This guide is for first-time merchants adding a simple product in the Posa web app — one item, one price, no colours or sizes. Follow the steps in order. You can skip any field marked optional.
If you already have a long product list in a spreadsheet, use the other guide: How to import your products in Excel on Posa. Use this page when you want to add products one by one.
1. Open Inventory
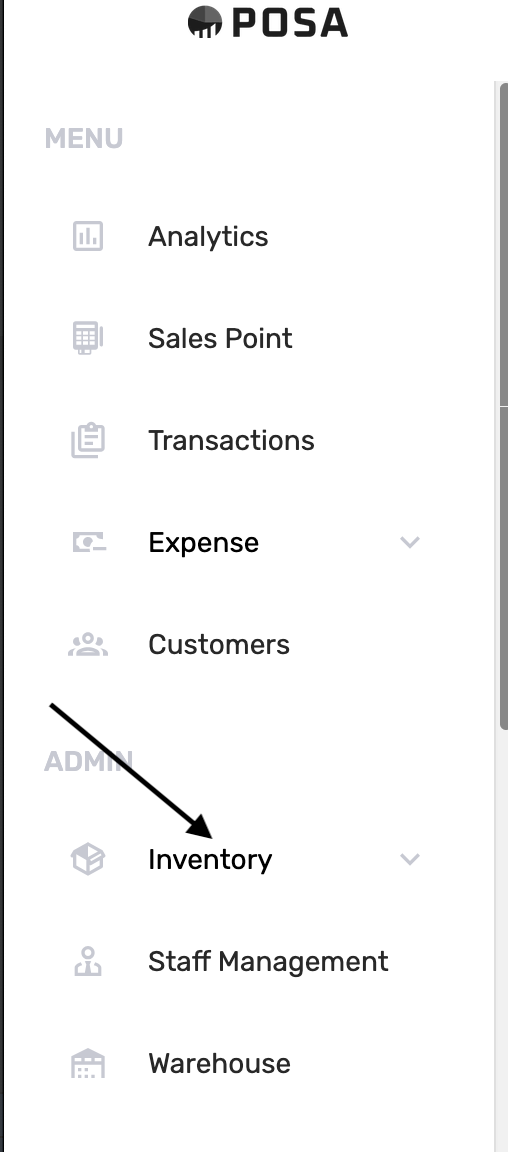
On the left sidebar, find ADMIN and click Inventory. This opens the inventory menu.
2. Go to Products
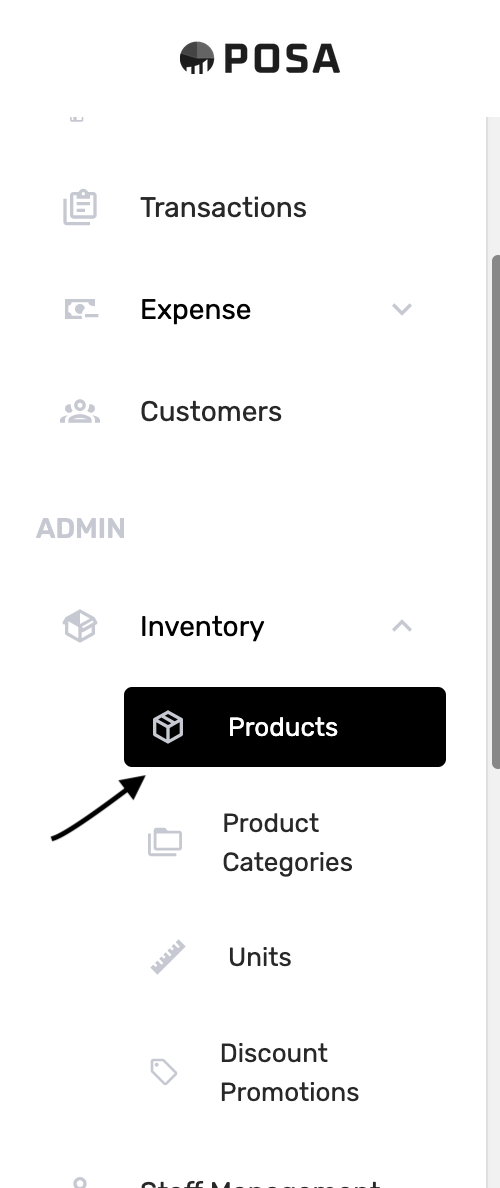
Under Inventory, click Products. The menu item turns black when you are on the Products page.
3. Click Add product
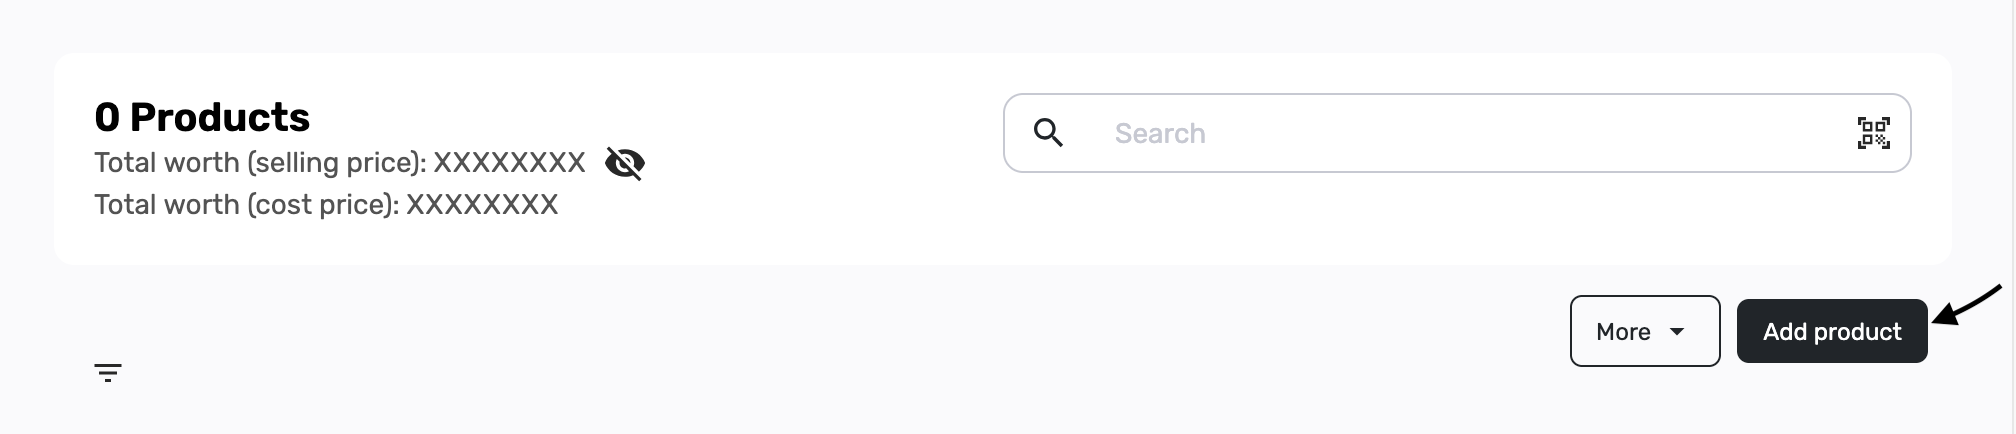
If you have not added anything yet, the page shows 0 Products. On the right, click the black Add product button. (The More menu is for other actions — you do not need it for this guide.)
4. The Add Product page

You should now see a page titled Add Product, with the line Enter the details of your Product here. If you see that, you are in the right place. Fill in the form using the steps below.
5. Upload product photos
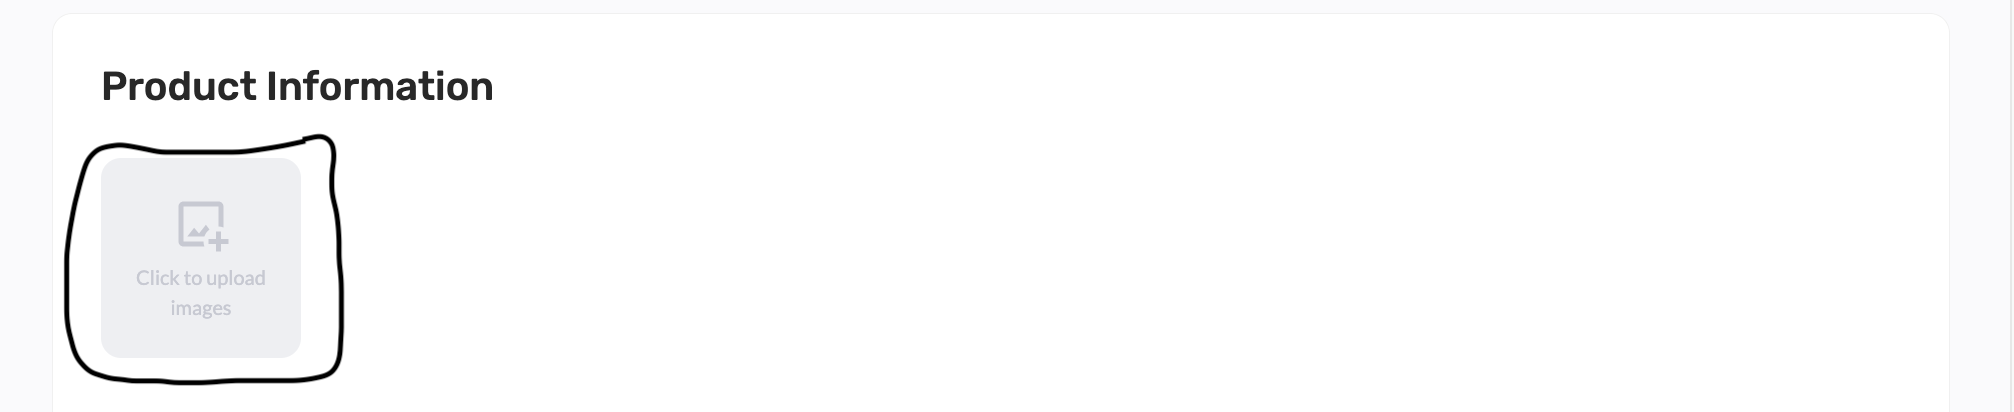
Under Product Information, click the grey tile that says Click to upload images. Choose one or more photos from your computer.
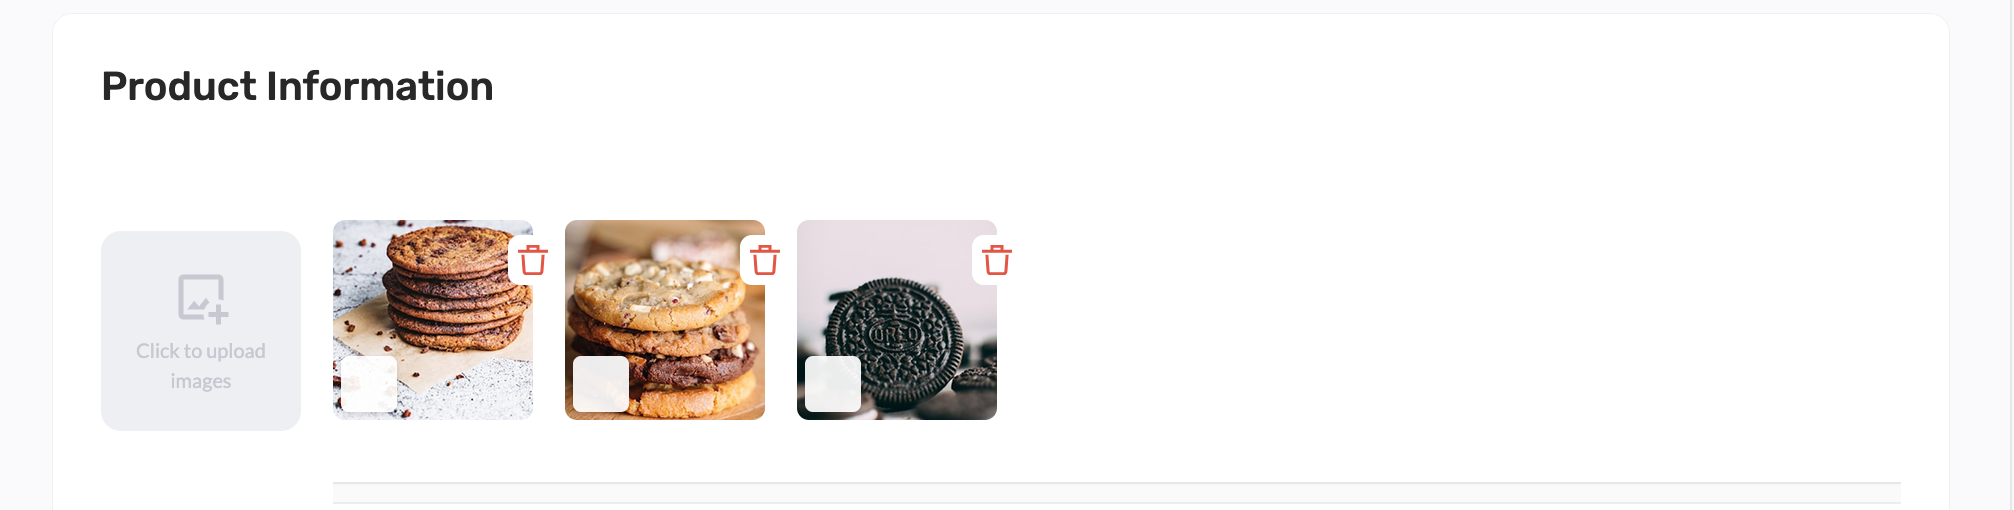
Your photos appear as thumbnails next to the upload tile. You can add more images or remove one with the trash icon. Clear photos help staff recognise the item on the sales page and help customers on your online shop.
6. Enter the product name

Type the name customers and staff will search for — for example, French Cookies. Use the name you use on the shop floor so it is easy to find later.
7. Choose or create a category

Product Category is optional, but it keeps your list organised. Open Select Product Category if you already have categories. If you do not, click Add new category.
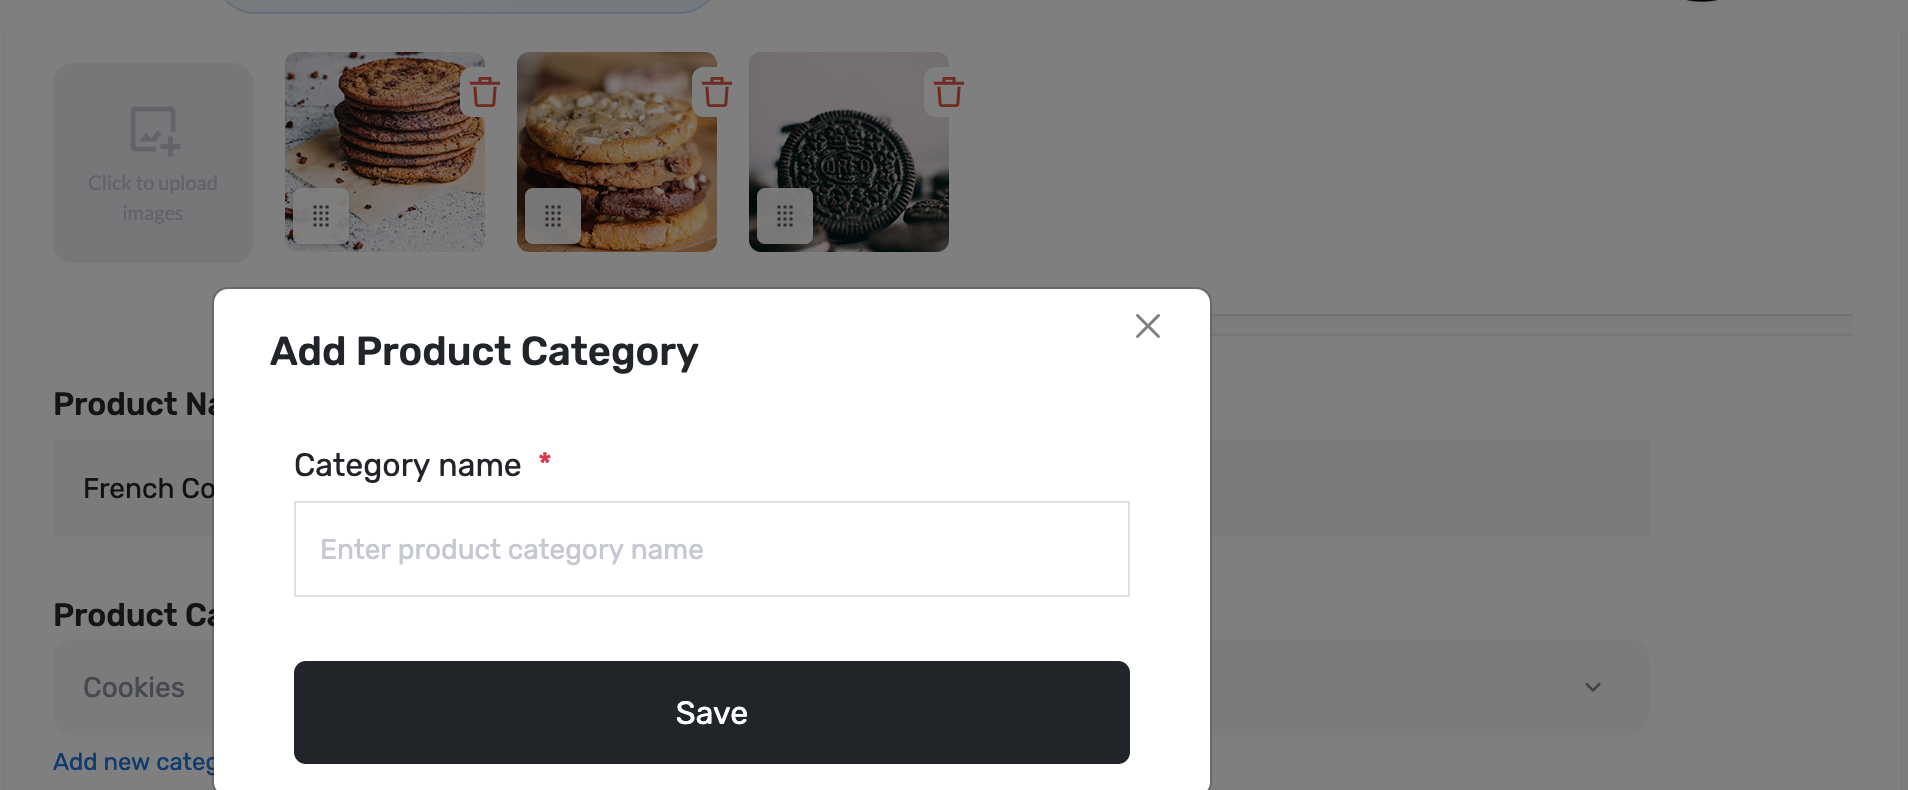
In the Add Product Category window, type a name such as Cookies, then click Save. The new category is added to your shop and selected on this product.

Next time, open the dropdown and pick from the list instead of creating a new one. You can still use Add new category whenever you need another group.
8. Skip variations for a simple product

Posa asks: Does this product have variations like Colors, Sizes, etc? For a simple item with one price, choose No, it doesn't. Leave Yes it has for products that come in different sizes or colours.
9. Set the selling price

Enter the price you charge the customer. This is the amount that appears at checkout and on your online shop.
10. Set the cost price

Enter what the product costs you to buy or make. Posa uses this for profit and inventory reports. Customers do not see the cost price.
11. Brand, SKU, and expiry date (optional)
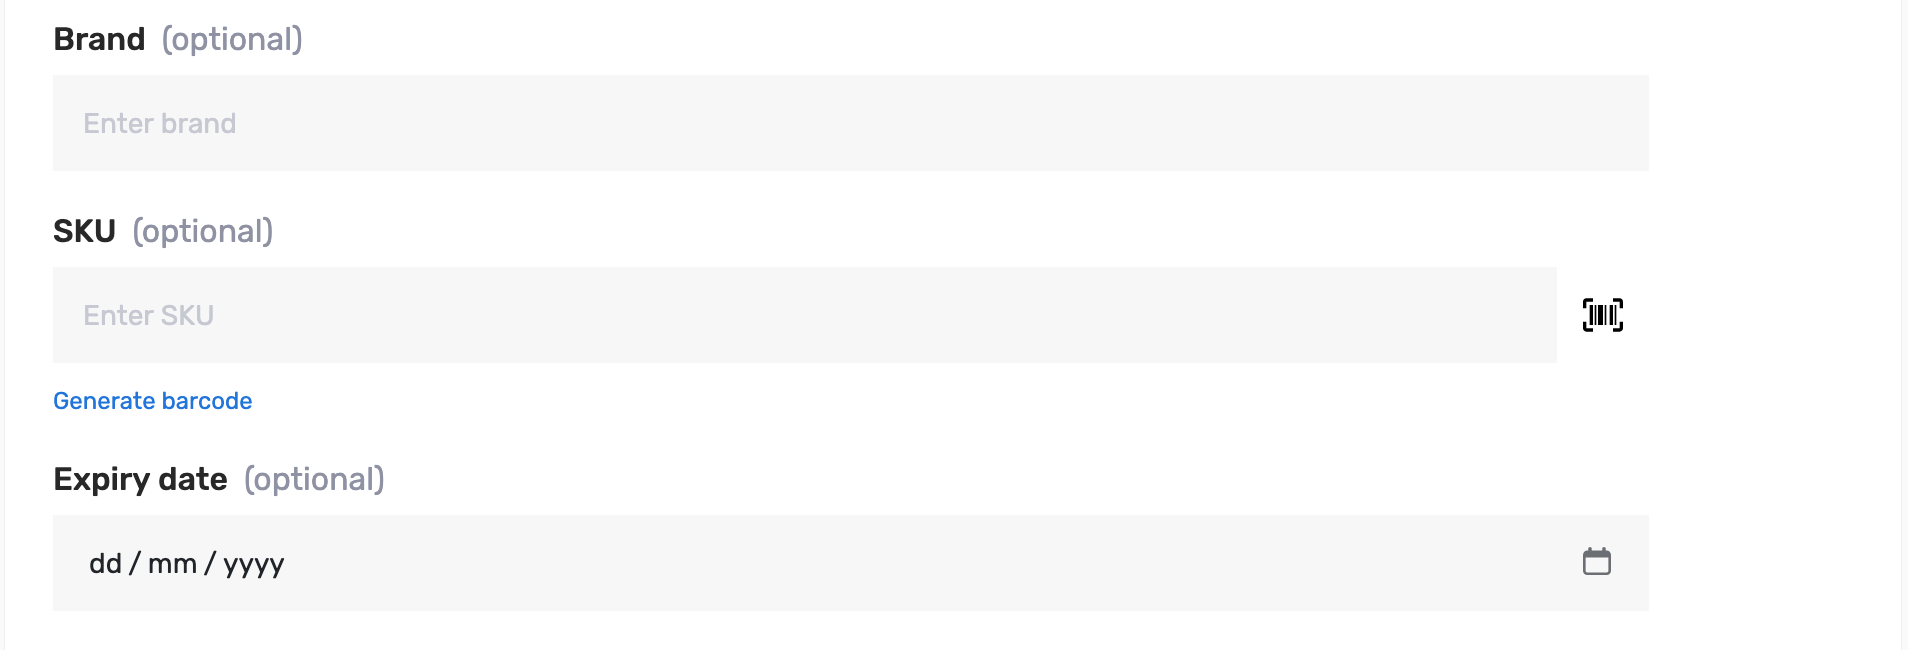
These three fields are optional. Use Brand for the maker, SKU for your own code (or Generate barcode), and Expiry date is for products that has expiry date like drugs, etc. Skip them if you do not need them yet.
12. Current stock and restock reminder
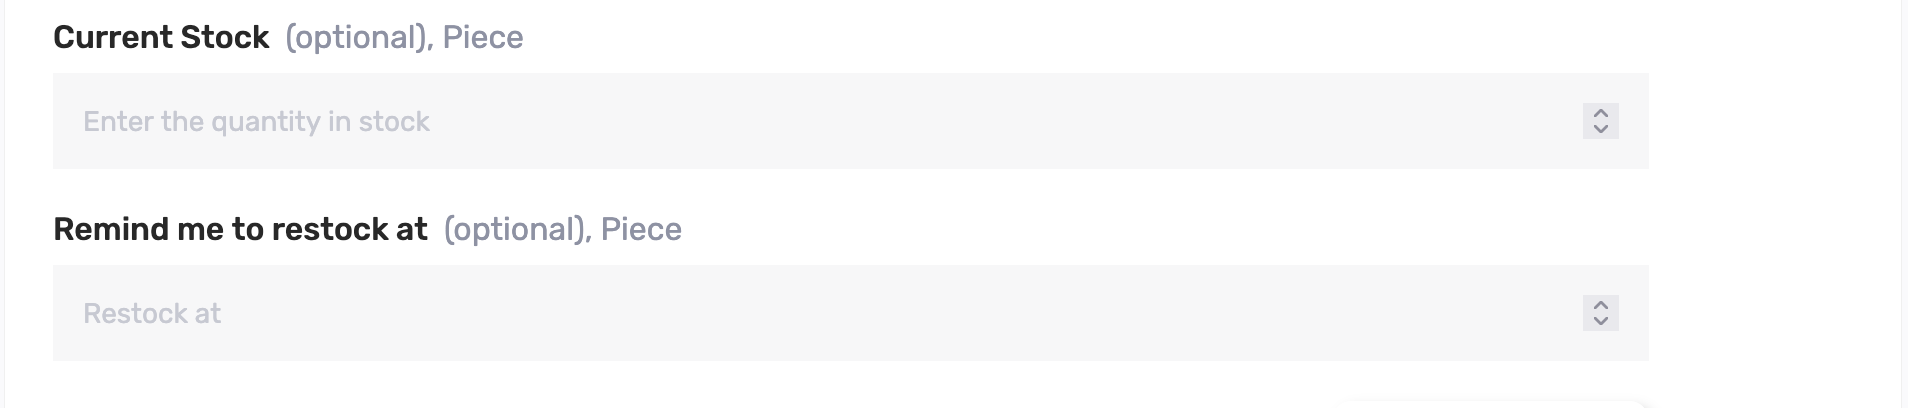
Current Stock is how many units you have now. Remind me to restock at is the level where Posa should warn you that stock is low. Both are optional. If you leave stock empty, you can update it later from the product list.
13. Add a description — or generate one with AI

Type a short description, or click Generate with AI and edit what it writes. A clear description helps on your online shop. You can leave this blank if you only sell in-store.
14. Choose a minimum unit

Minimum Unit is optional. It is how you count the product — Piece is the usual default for items you sell one at a time.

Open the dropdown if you sell by carton, kilogram, or another unit. Pick the unit that matches how you stock and sell the item.
15. Online shop and sales page
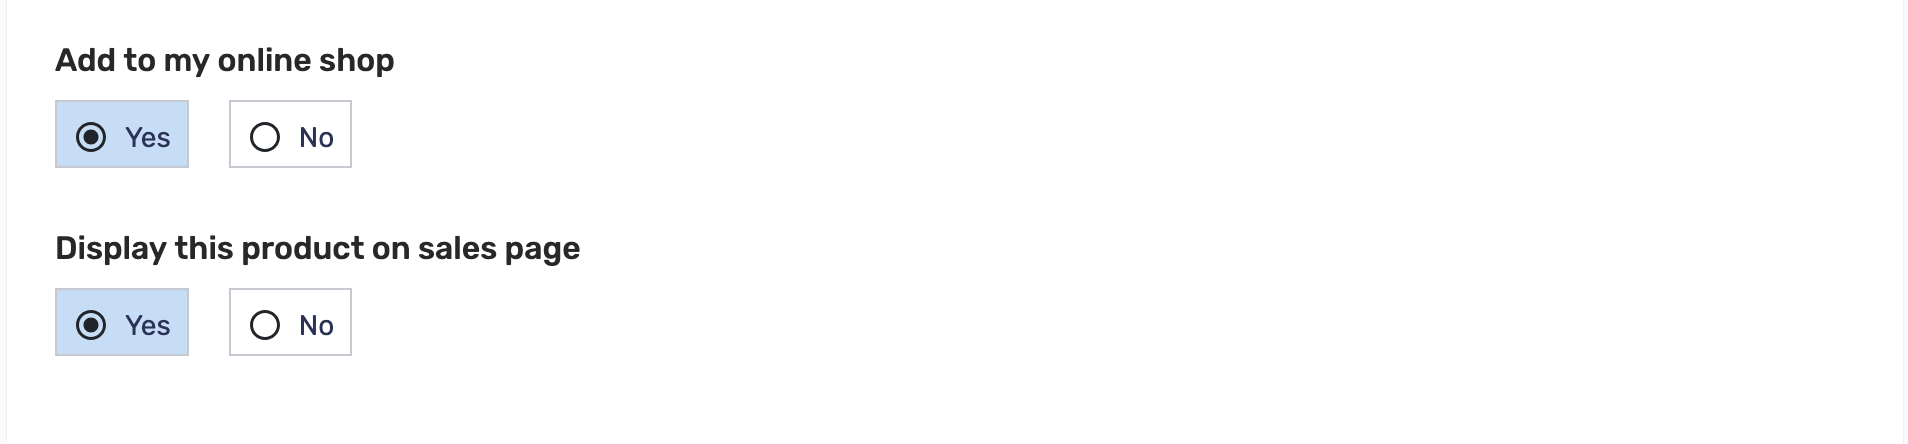
Add to my online shop: choose Yes if you want customers to see and buy this product on your website.
Display this product on sales page: choose Yes if you want it to appear when you sell in the shop.
Leave both on Yes if you sell in the shop and online. Choose No if you do not want the product in one of those places.
16. Create the product

Scroll to the bottom and click Create Product. Posa saves the item and takes you back to the Products list.
17. Confirm it was saved
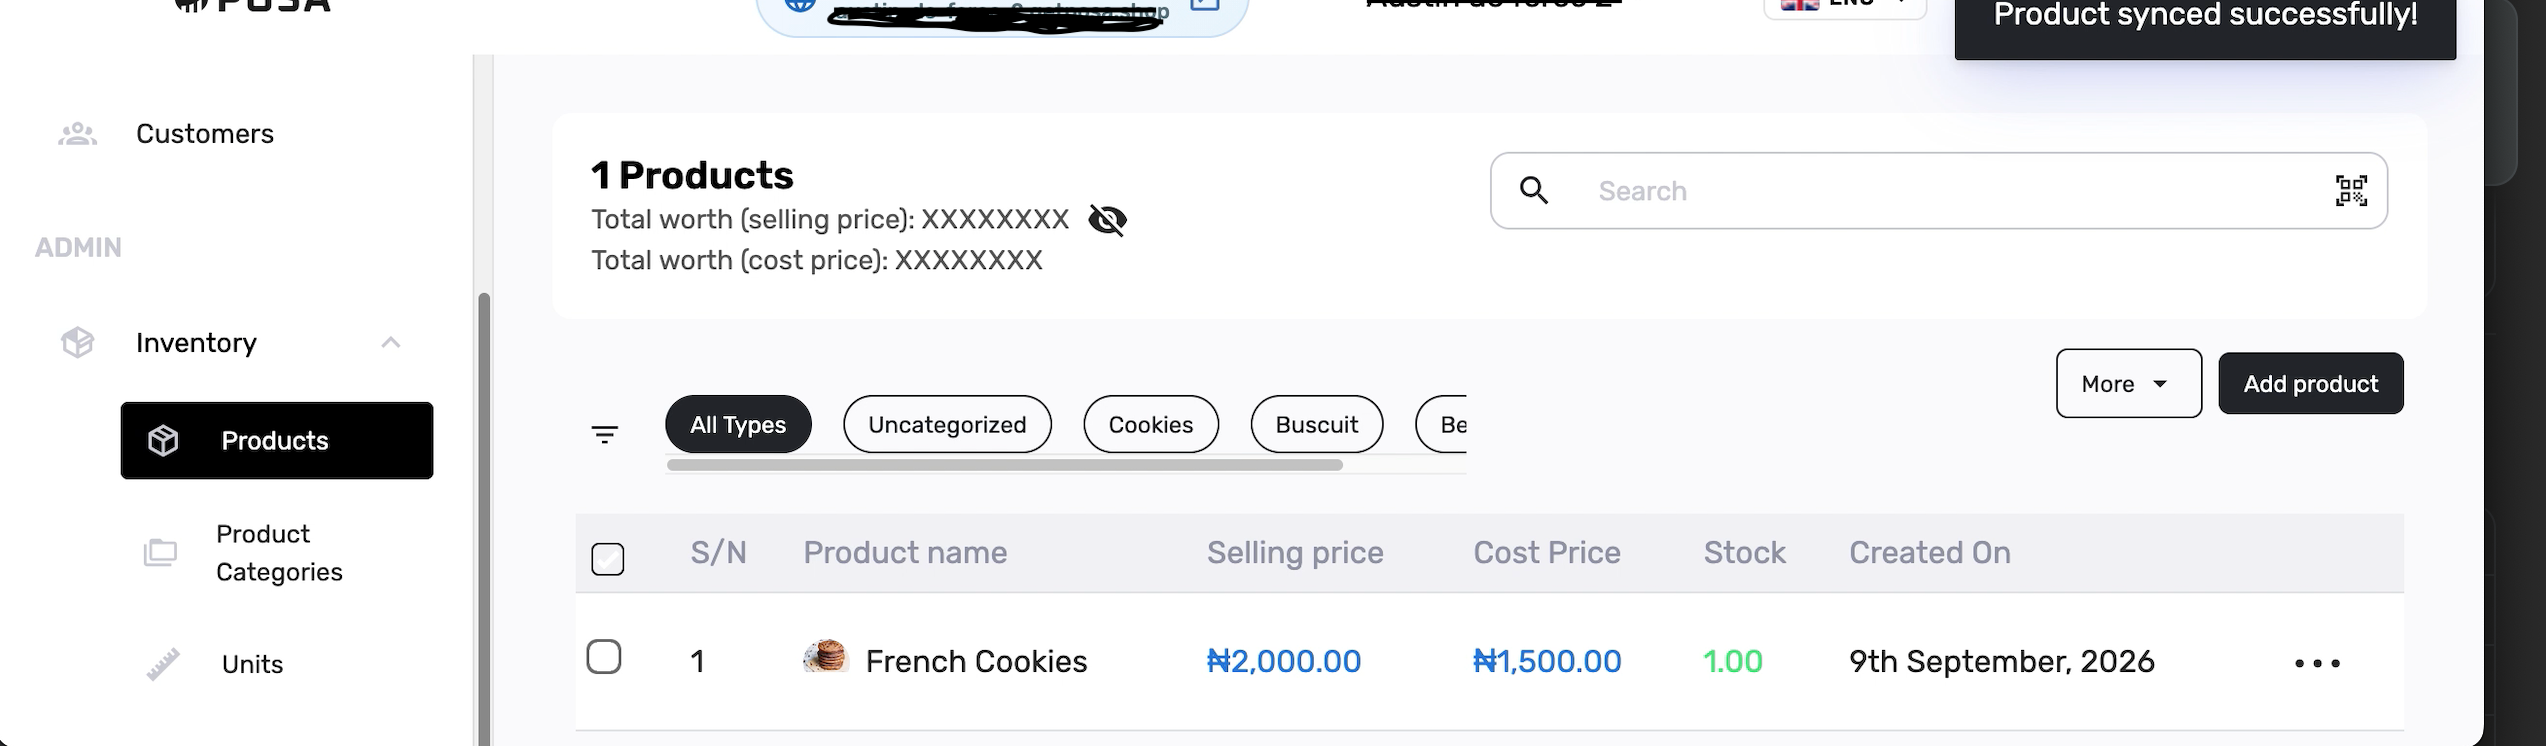
A toast such as Product synced successfully appears, and the list shows your new row — name, selling price, cost price, stock, and the date it was created. The header count updates from 0 Products to 1 Products.
18. Open the product to review it
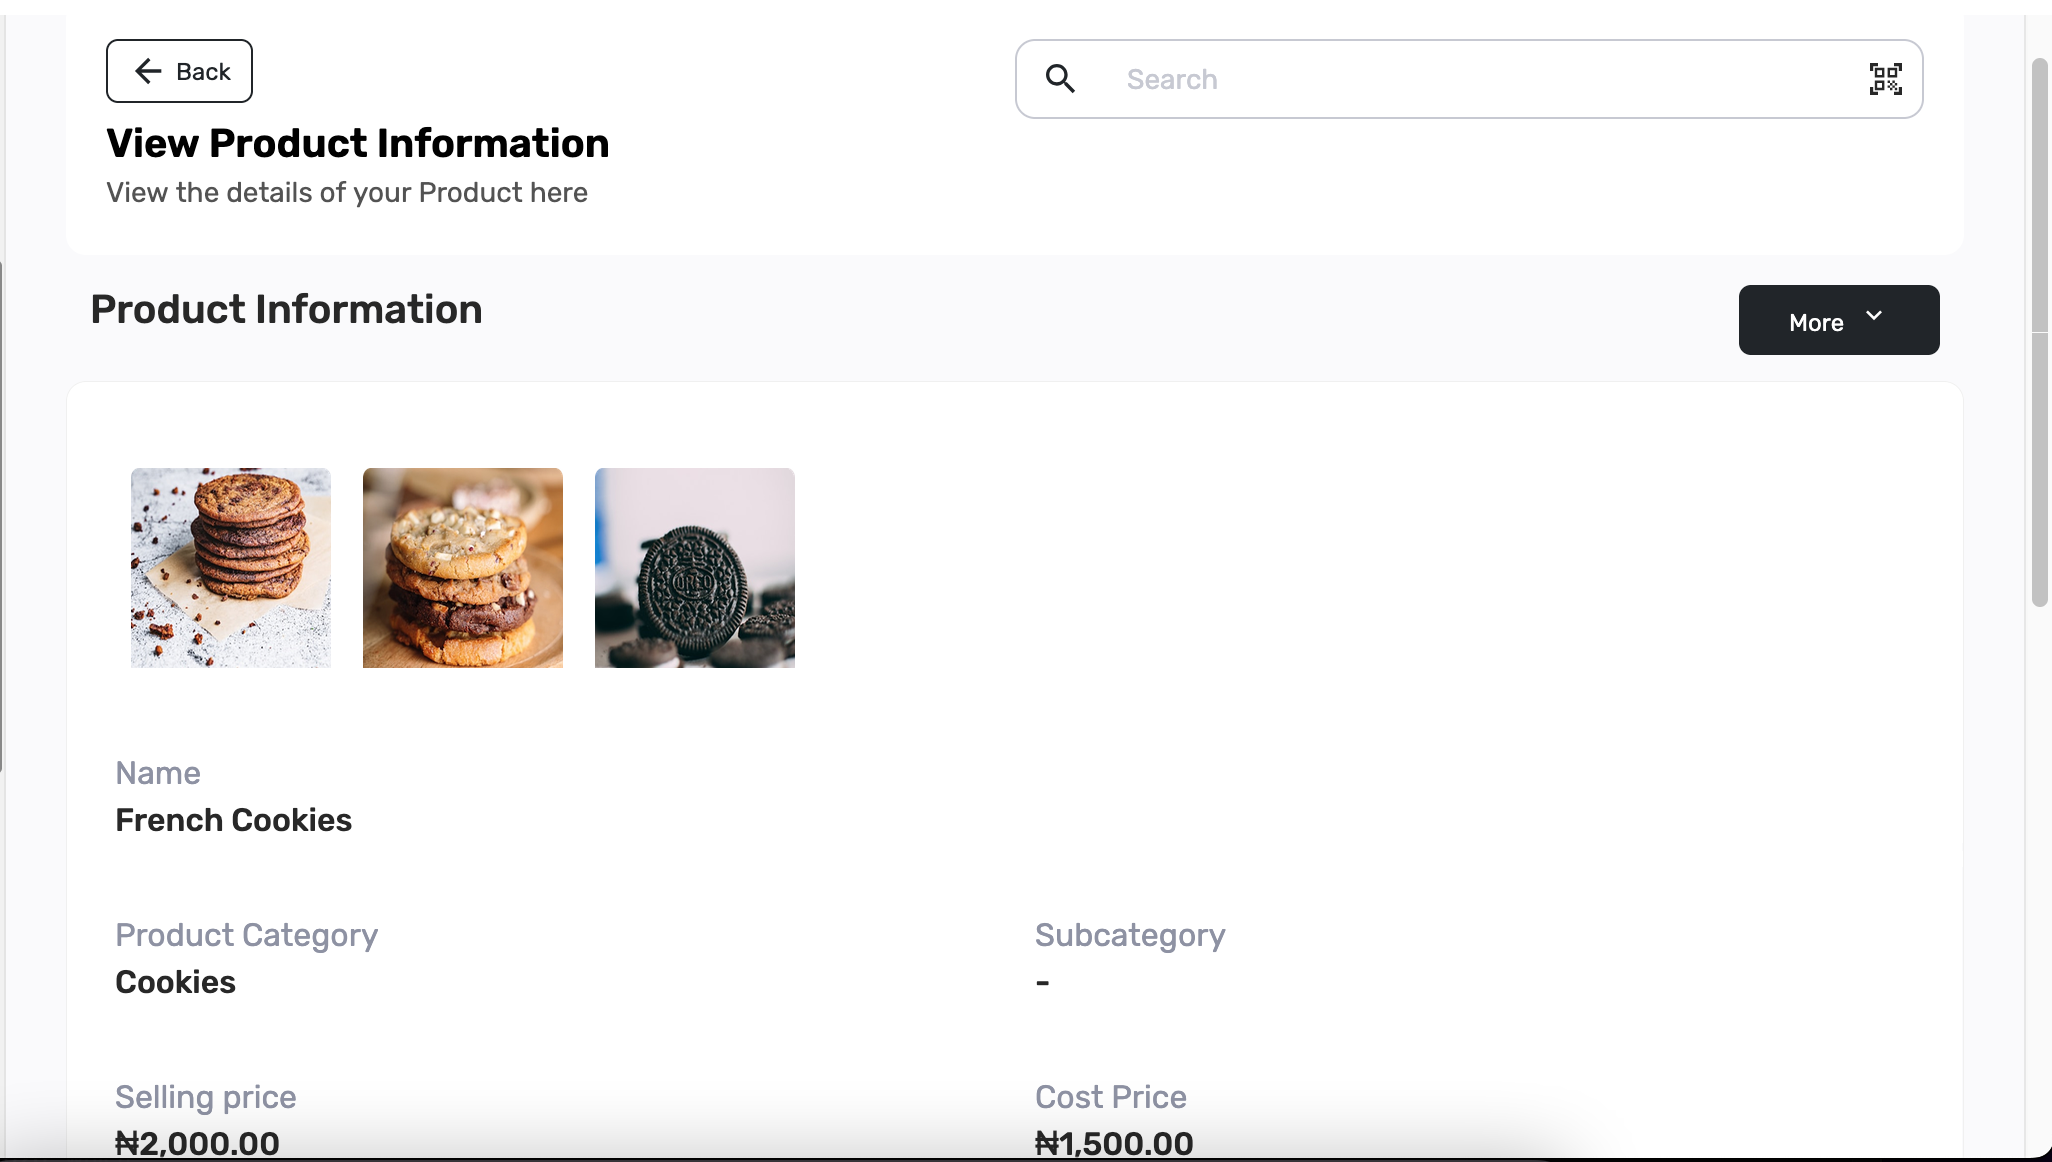
Click the product name to open View Product Information. Check the photos, name, category, and prices. Use More if you need to edit. Repeat from Add product whenever you add the next item.
Published by Posa Technologies · getposa.com
← More guides