
Use this guide for a simple in-shop sale: one product, paid in cash. You need at least one product in your shop first. If you do not have any yet, see How to upload your products on Posa or How to import your products in Excel on Posa.
1. Open Sales Point
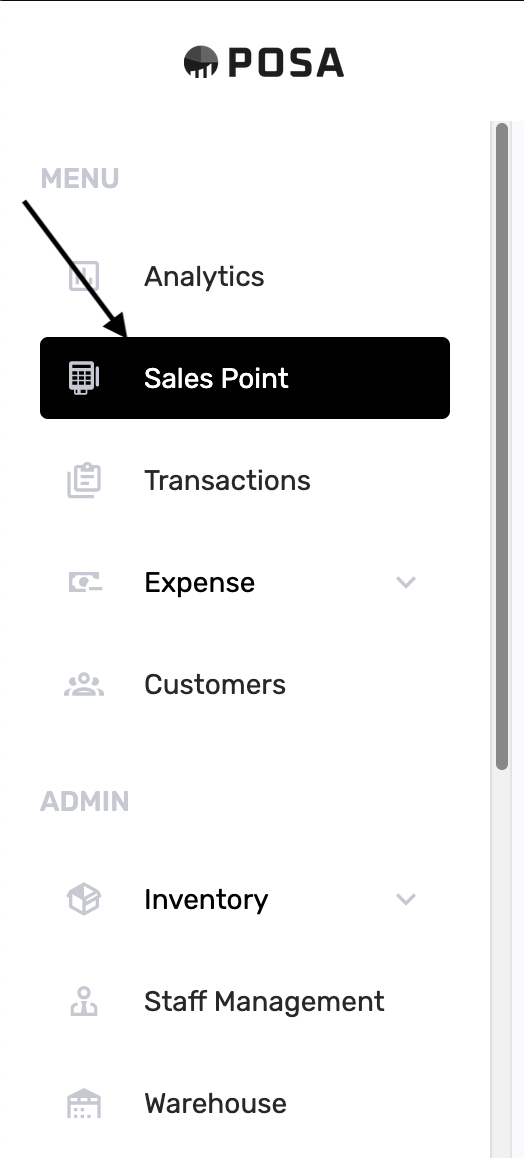
On the left sidebar, under MENU, click Sales Point. The menu item turns black when it is selected.
2. The Take Order page
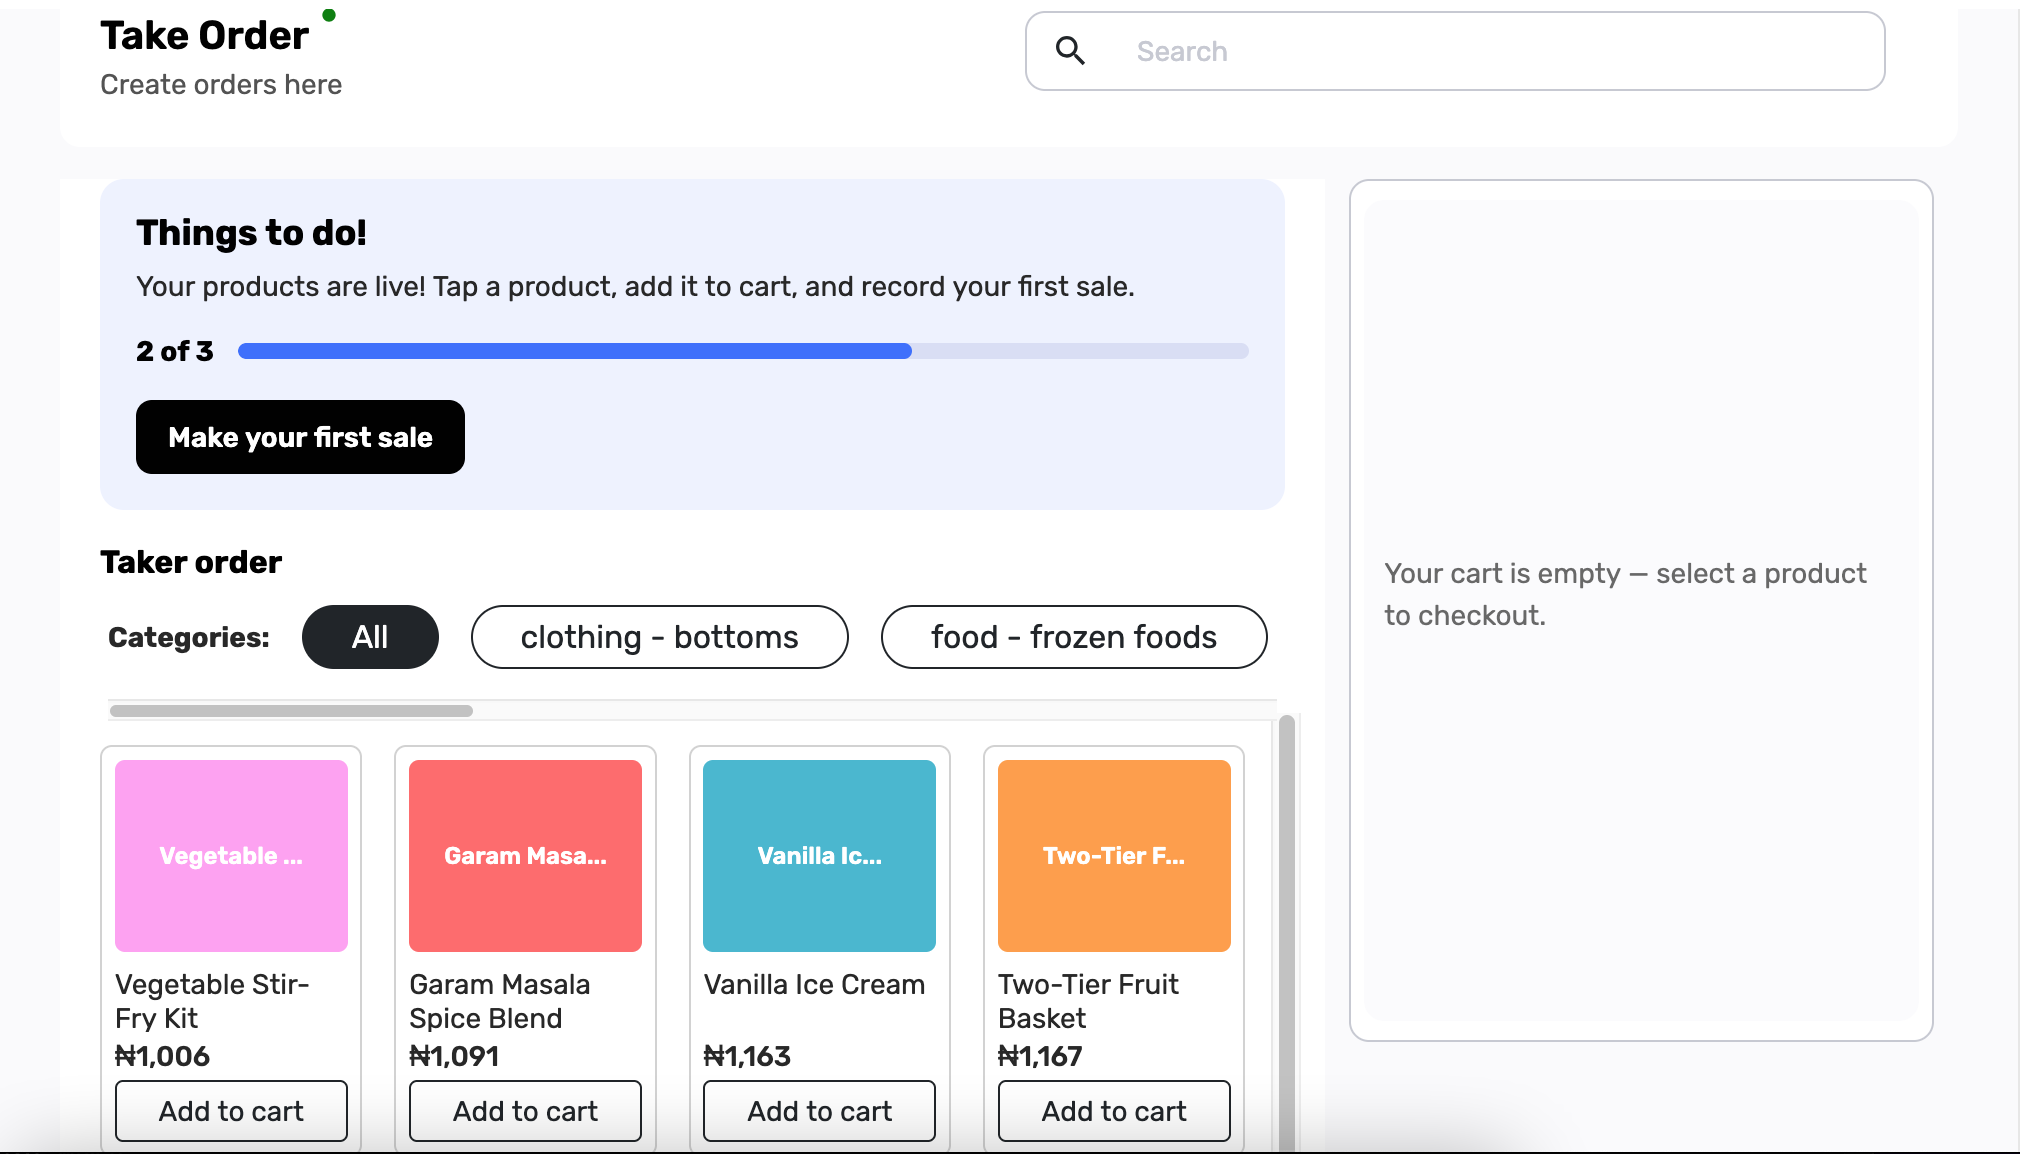
You should see a page titled Take Order, with Create orders here under it. Products are on the left. The cart on the right says Your cart is empty — select a product to checkout. If you see that, you are in the right place.
3. Add a product to the cart
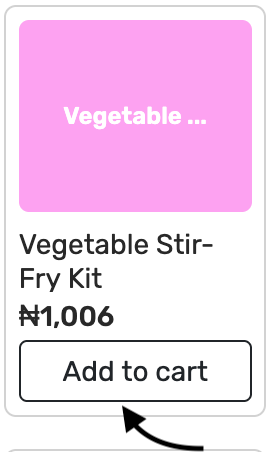
On a product card, click Add to cart. Do not click the product picture — that opens a different window. Use Add to cart on the card.
4. Check the cart
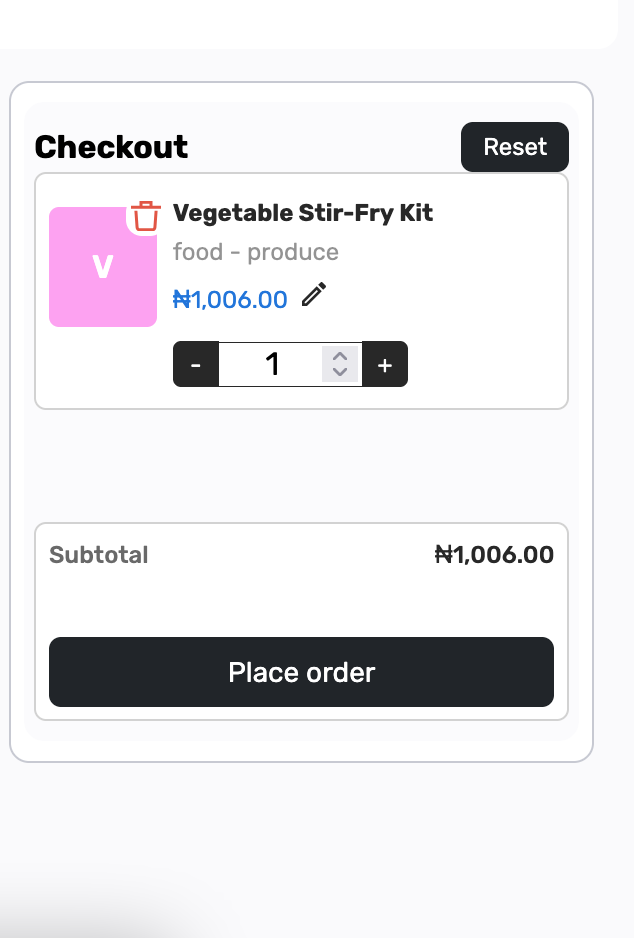
The right-hand panel is now labelled Checkout. Your product, quantity, and subtotal should be there. Use − or + if you need to change the quantity. If you see the item in Checkout, you are on the right track.
5. Click Place order
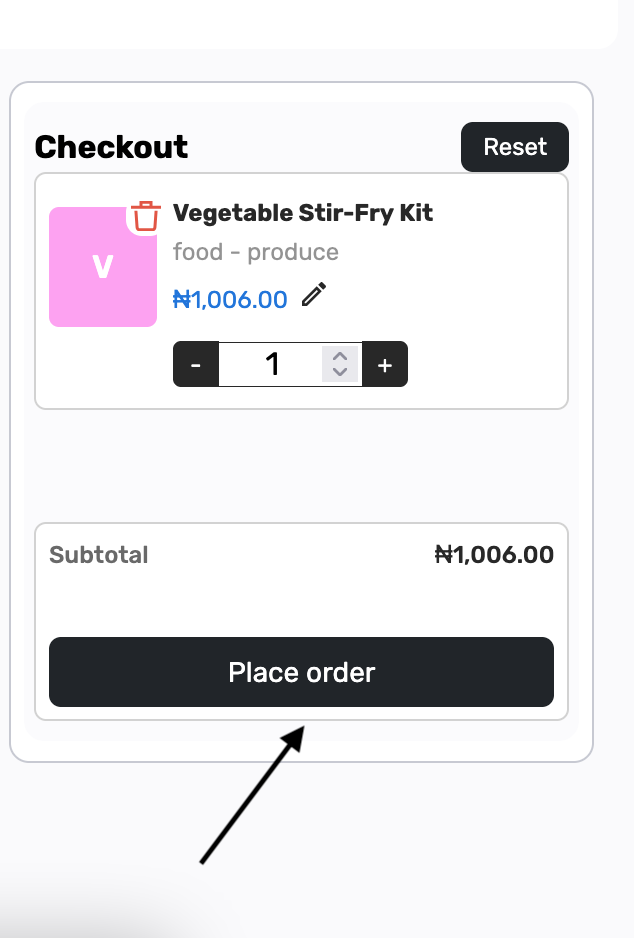
When the cart looks right, click Place order. This opens the payment step. You do not need Reset for this guide.
6. Choose how the customer paid
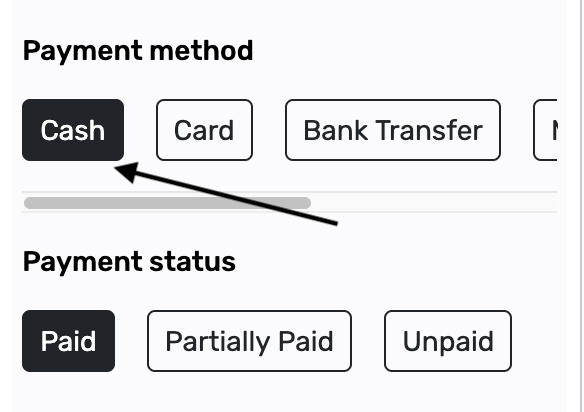
You should now see Payment method. Pick the option that matches how the customer paid. This guide uses Cash.
- Cash — the customer paid with physical money.
- Card — the customer paid with a debit or credit card on your POS terminal.
- Bank Transfer — the customer sent the money to your bank account.
- Mobile Money — the customer paid with a mobile wallet, such as MoMo or similar.
- Multiple — the customer split the payment. For example, they pay some in cash and the rest by transfer. You can record more than one method on the same sale. (This guide does not go into that.)
7. Choose payment status
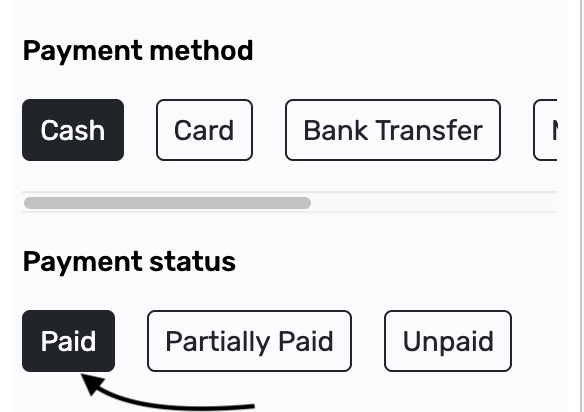
Under Payment status, click Paid. That means the customer has already paid in full. That is what this guide uses.
The other two options are for when money is still outstanding:
- Partially Paid — the customer paid some of the total, but not all. You will be asked for Amount received (how much they paid now). You must also choose a customer, so Posa can track what they still owe.
- Unpaid — the customer has not paid yet. The full amount stays outstanding. You must also choose a customer.
8. Complete the order
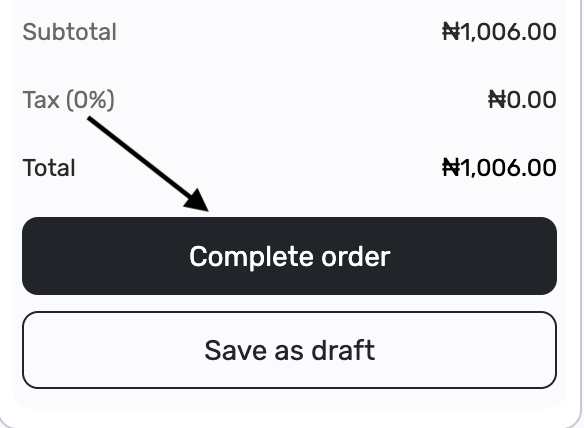
Check the Total, then click Complete order. That records the sale.
Save as draft is for when you are not ready to finish. For example, the customer is still adding items, or they stepped away and will pay later. The order is saved so you can open it again and complete it. You do not need Save as draft for this sale.
9. Confirm the sale was recorded
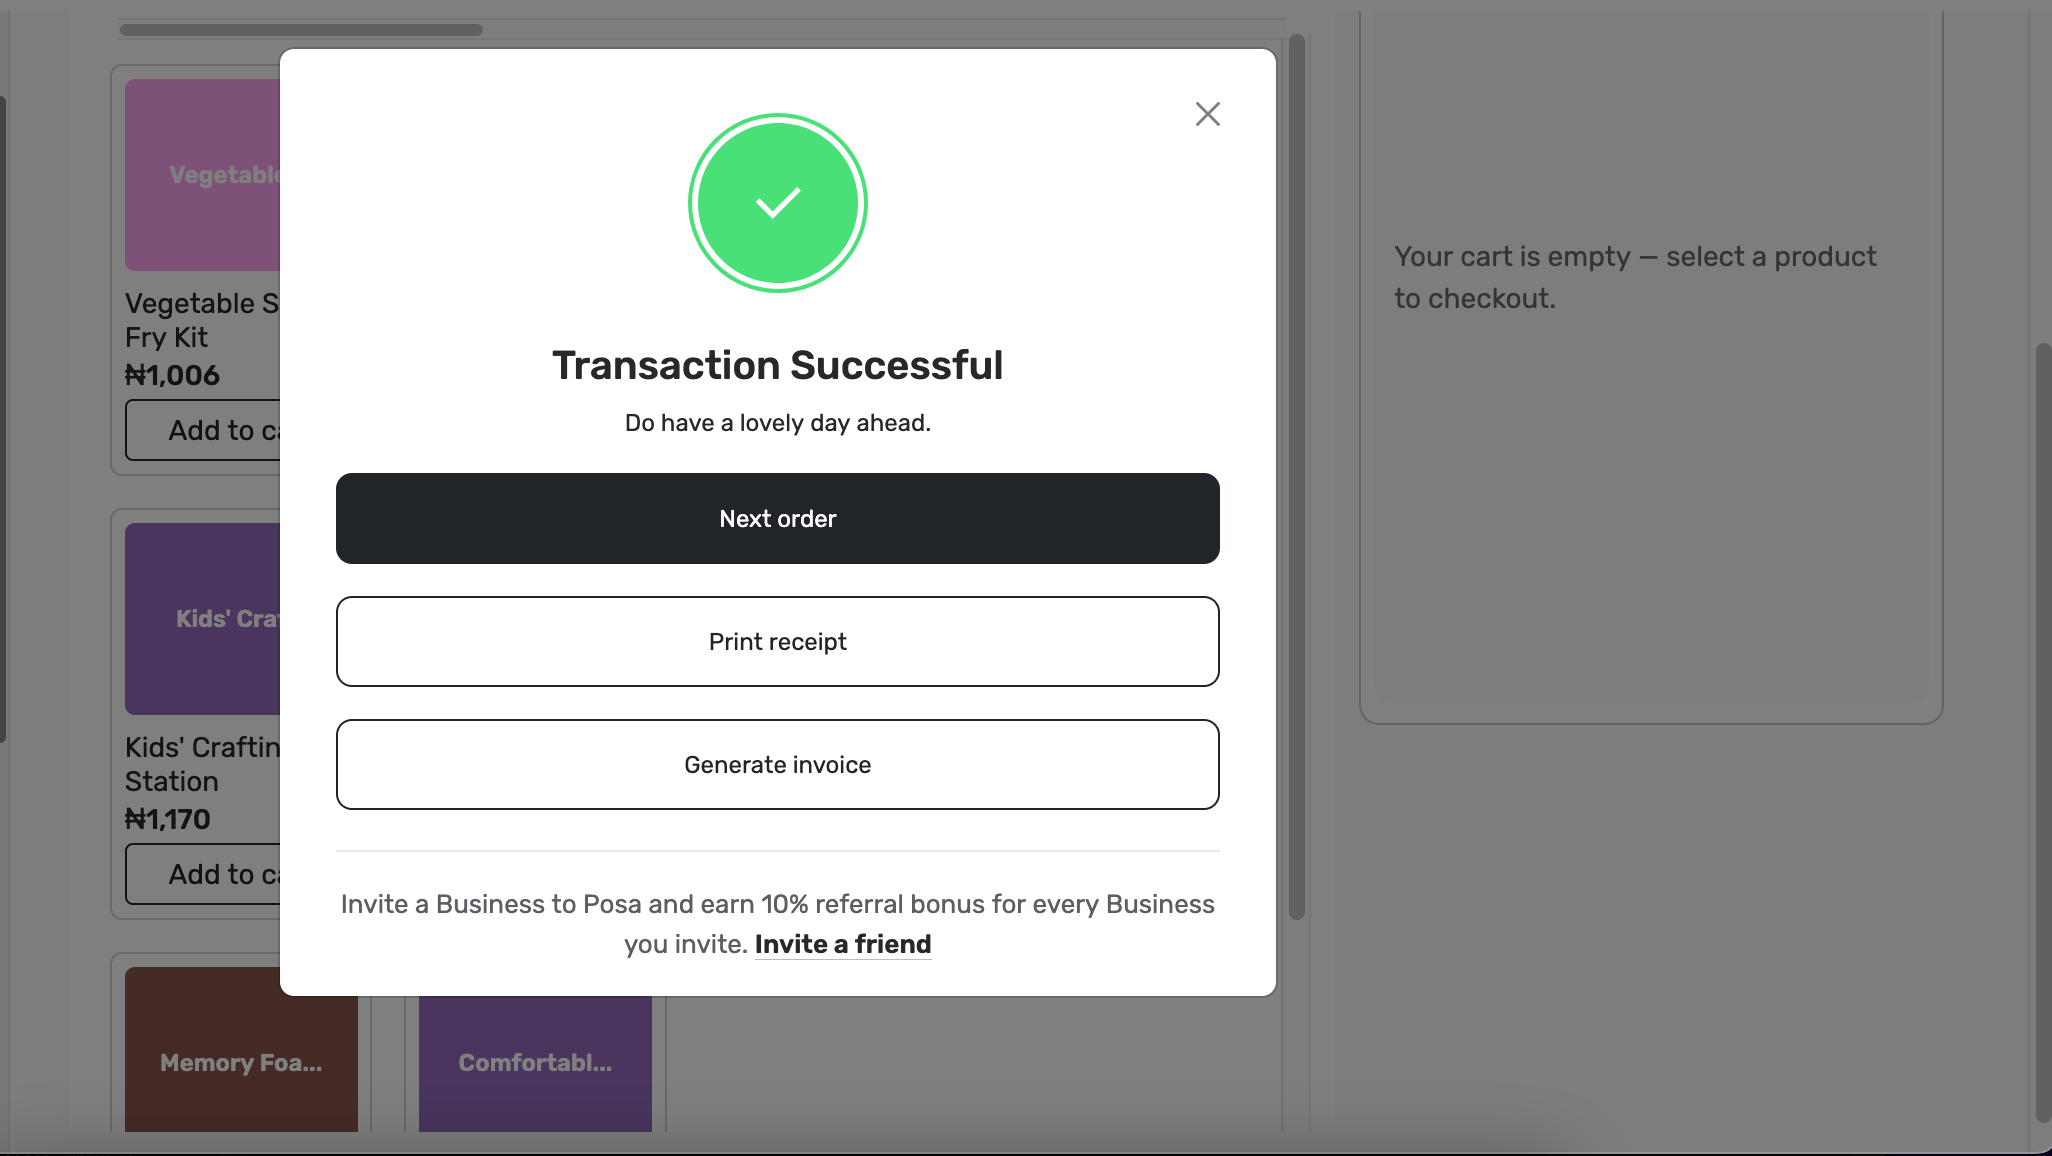
You should see Transaction Successful. If you see that, the sale is recorded. Click Next order to start another sale, or Print receipt if the customer needs a receipt.
Published by Posa Technologies · getposa.com
← More guides