

Use this guide to add one staff member in the Posa web app — for example a sales person who will take orders. Adding staff is available on a paid plan, for the business owner or admin. On a free plan, Posa will ask you to upgrade first.
You will create an email and password for them. Share those details so they can log in on their own. For this walkthrough we add a Sales Person and leave the extra options as they are.
1. Open Staff Management
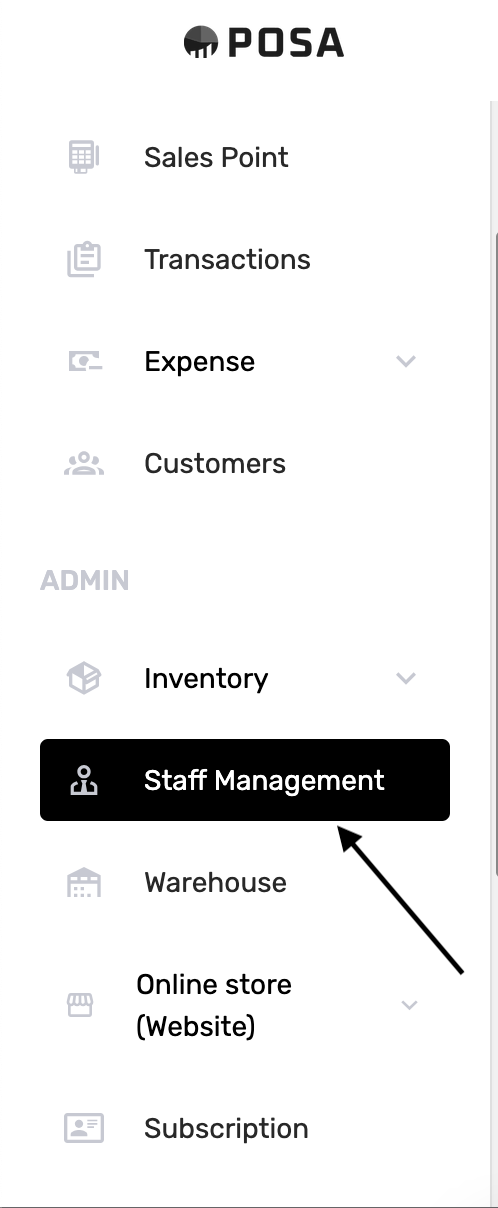
On the left sidebar, under ADMIN, click Staff Management. The menu item turns black when it is selected.
2. The Staff page
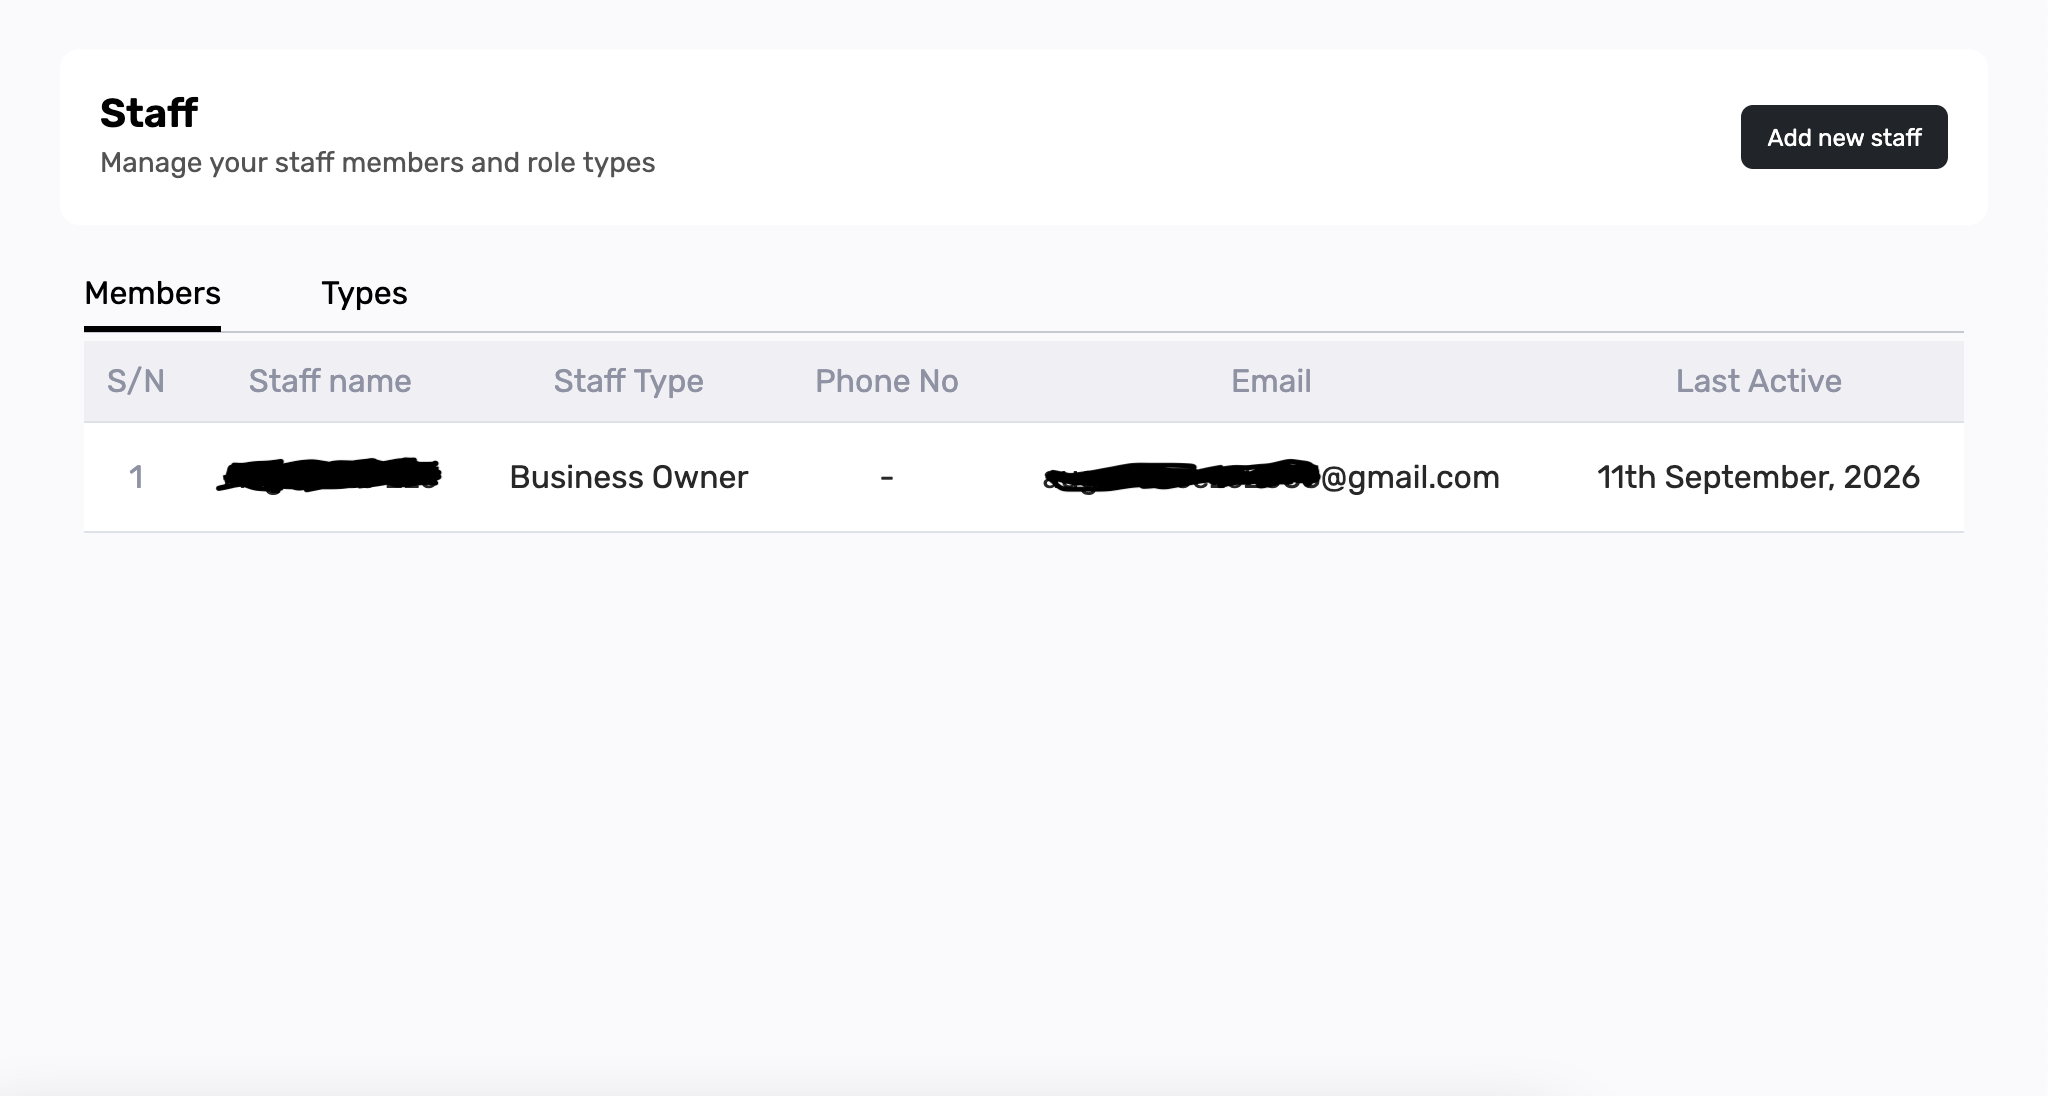
You should see a page titled Staff, with Manage your staff members and role types under it. Stay on the Members tab. You may already see yourself listed as Business Owner. Add new staff is at the top right. If you see that, you are in the right place.
You do not need the Types tab for this guide — that is for renaming roles later.
3. Click Add new staff

On the right, click Add new staff.
4. The Add new staff page
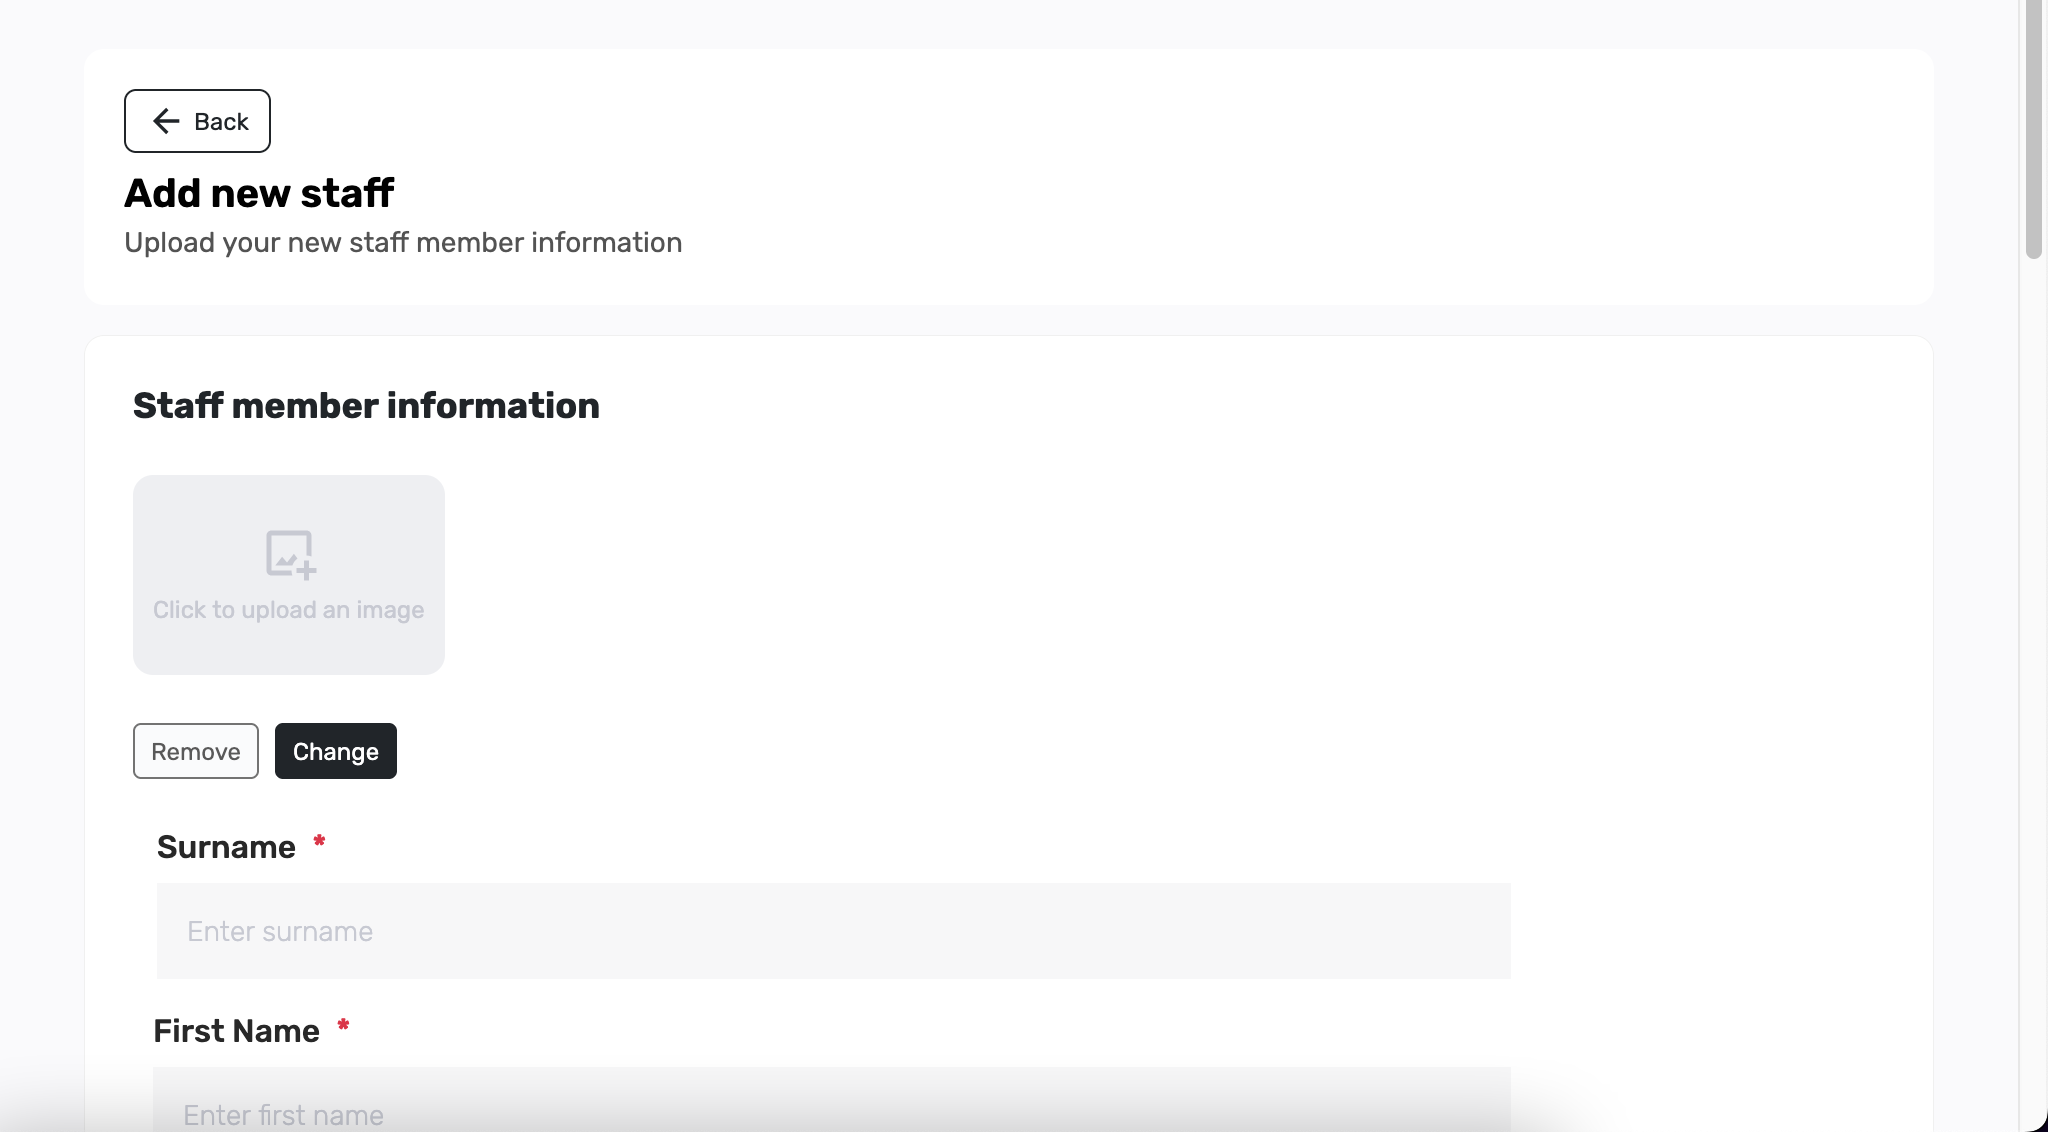
A page titled Add new staff opens. If you see Staff member information, a photo box, and fields such as Surname and First Name, you are on the right track. Fields with a red star are required.
5. Add a photo (optional)
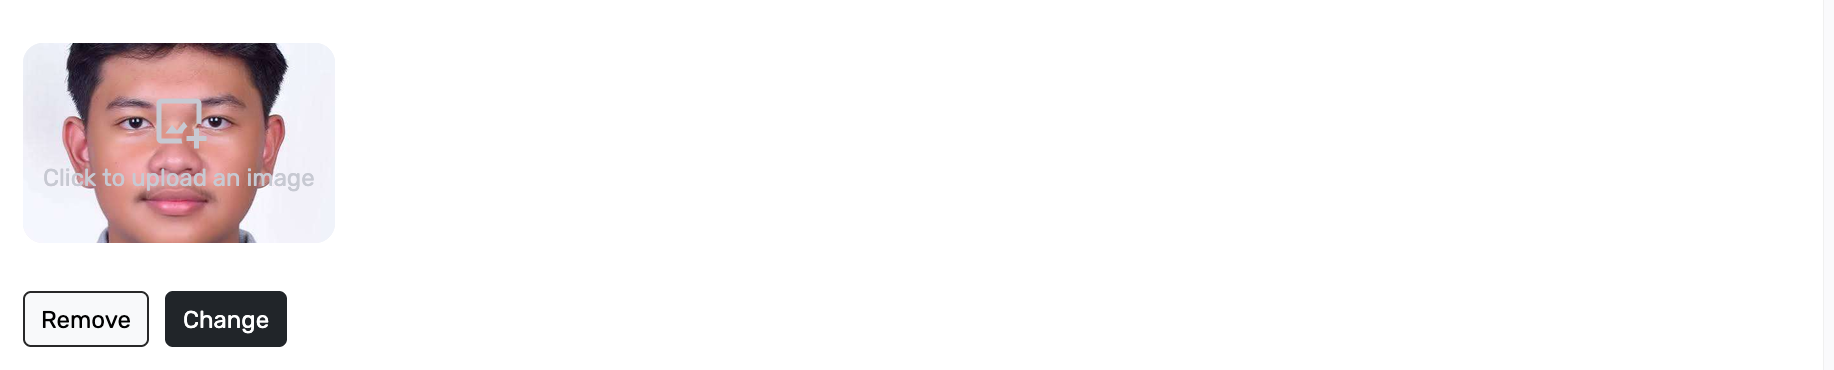
Click the photo box (or Change) and pick a picture from your computer. A face photo helps you recognise them later on the Staff list. You can skip this and add a photo another time. Use Remove if you picked the wrong image.
6. Fill in their details
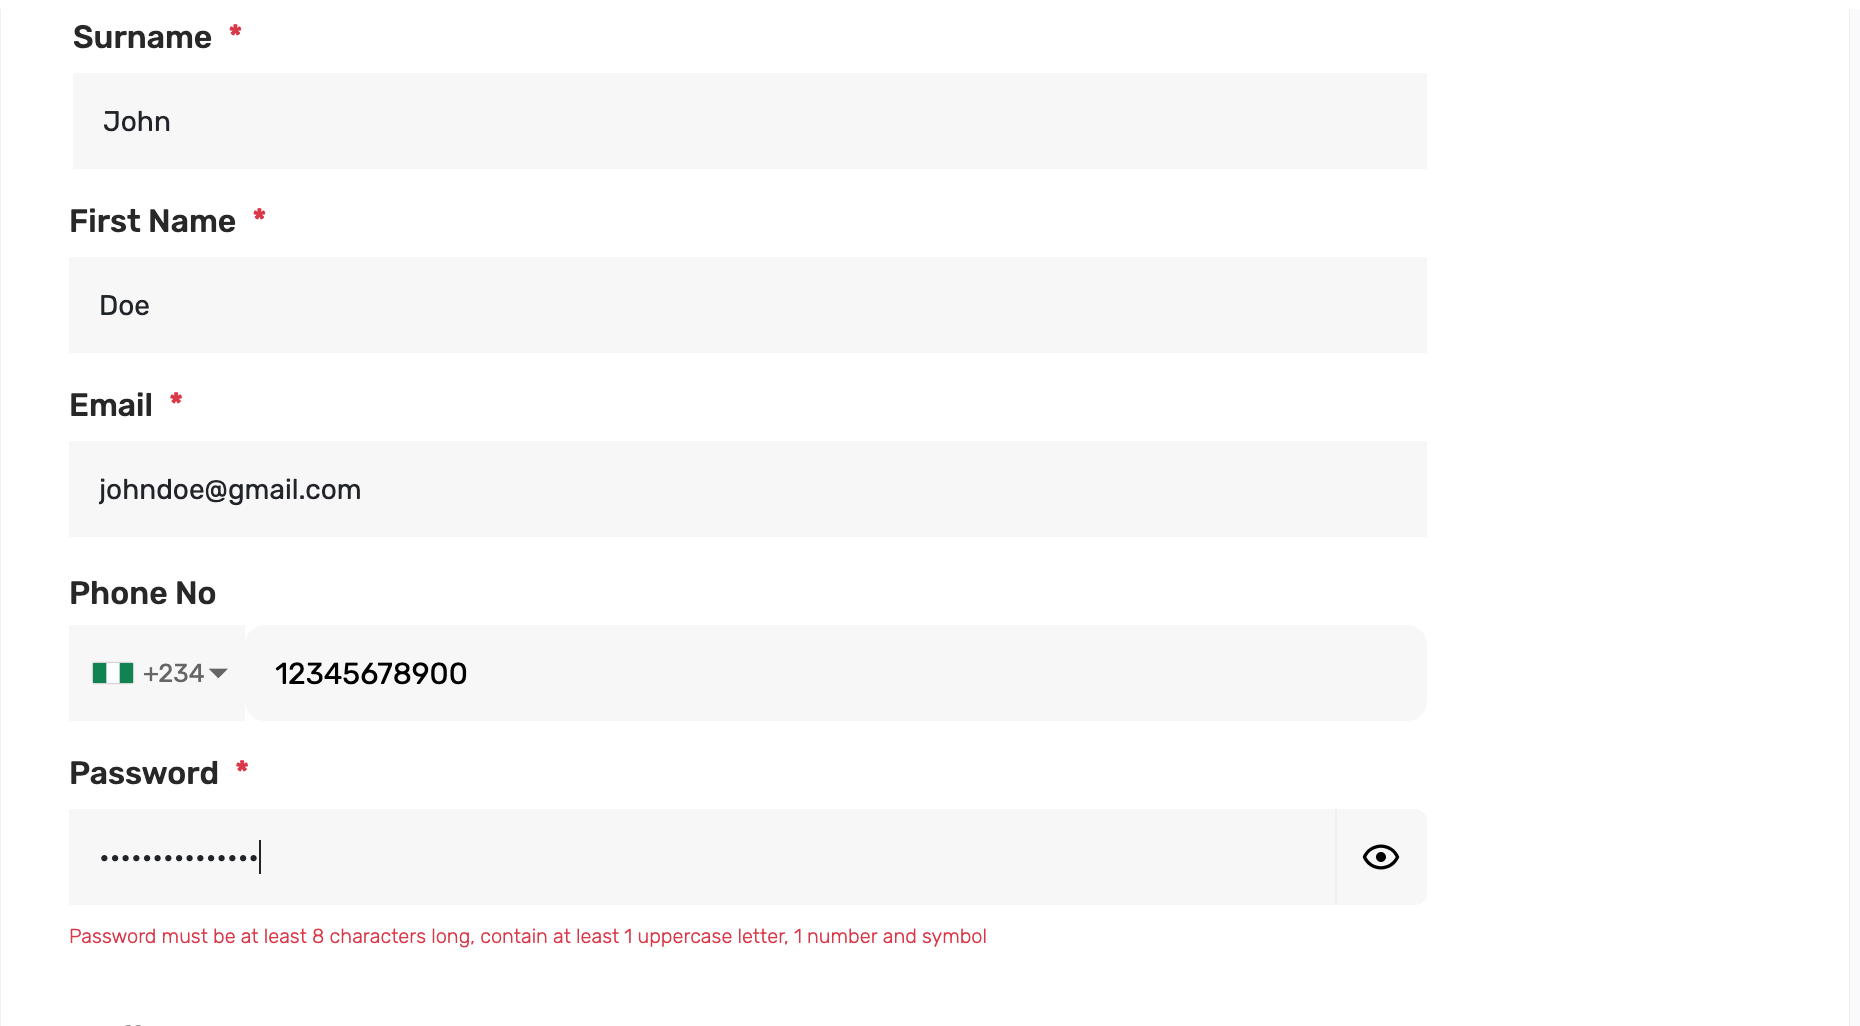
Fill in Surname, First Name, Email, and Phone No. Use an email they can actually open — this is what they will use to log in.
Then type a Password. It must be at least 8 characters, with 1 uppercase letter, 1 number, and 1 symbol (for example Testers1!). If a red line appears under the field, the password is not strong enough yet — keep editing until that message goes away. Share this password with them in a private way.
7. Choose a staff type

Under Staff type, choose Sales Person. That is the usual role for someone who records sales. Posa then fills in a matching set of permissions — you will see those in the next steps.
Add new staff type is for creating your own role name later (for example Cashier). You do not need it for this guide.
8. Choose the business and address
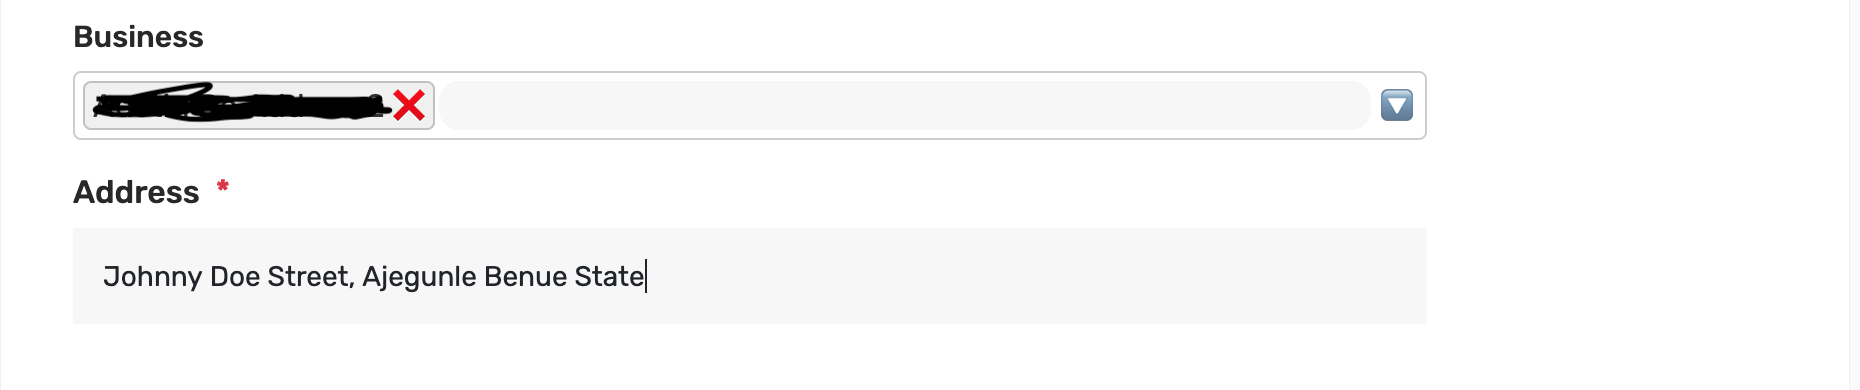
Business is which shop they can work in. Leave your current location selected. If you have more than one location, you can add those too.
Address is required. Type where they can be reached — for example a street and town.
9. Review permissions
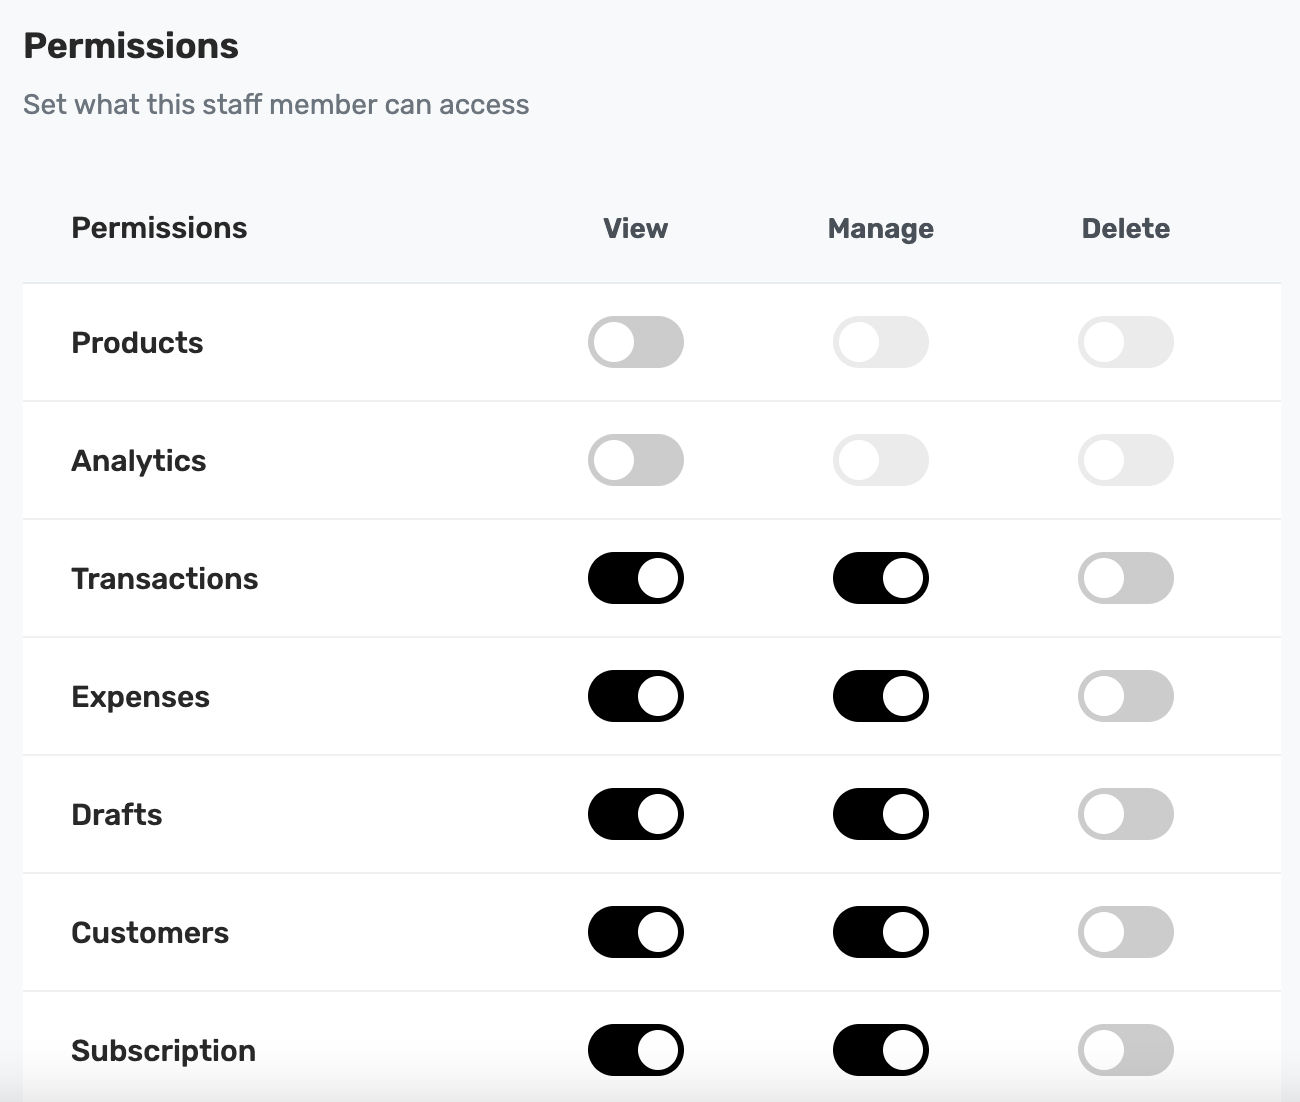
Permissions decide what this person can open in Posa. For this guide, leave the toggles as they are after choosing Sales Person. You can change them later if you need to.
Each row is a part of the app. The three columns mean:
- View — they can open that page and see what is there.
- Manage — they can add or change records on that page.
- Delete — they can remove records. Sales Person usually has this off.
10. Click Save

Scroll to the bottom and click Save. Posa creates the staff login. If Save is greyed out, you are on a free plan or you have used every staff slot on your plan — upgrade or add a slot, then try again.
11. Confirm they were added
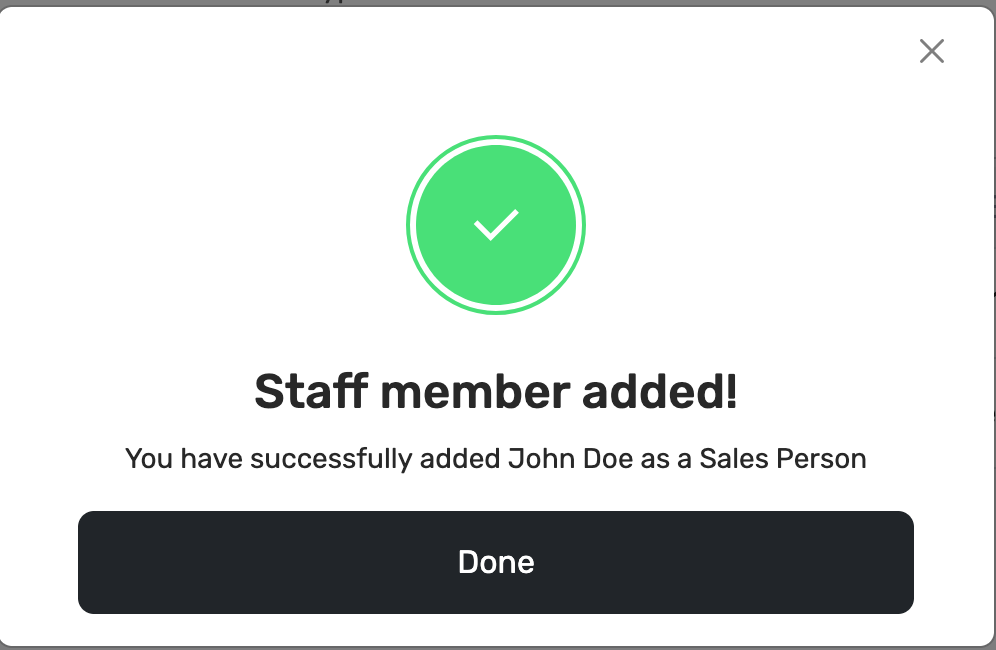
A message appears: Staff member added! It names the person and their role — for example John Doe as a Sales Person. Click Done.
12. See them on the Members list
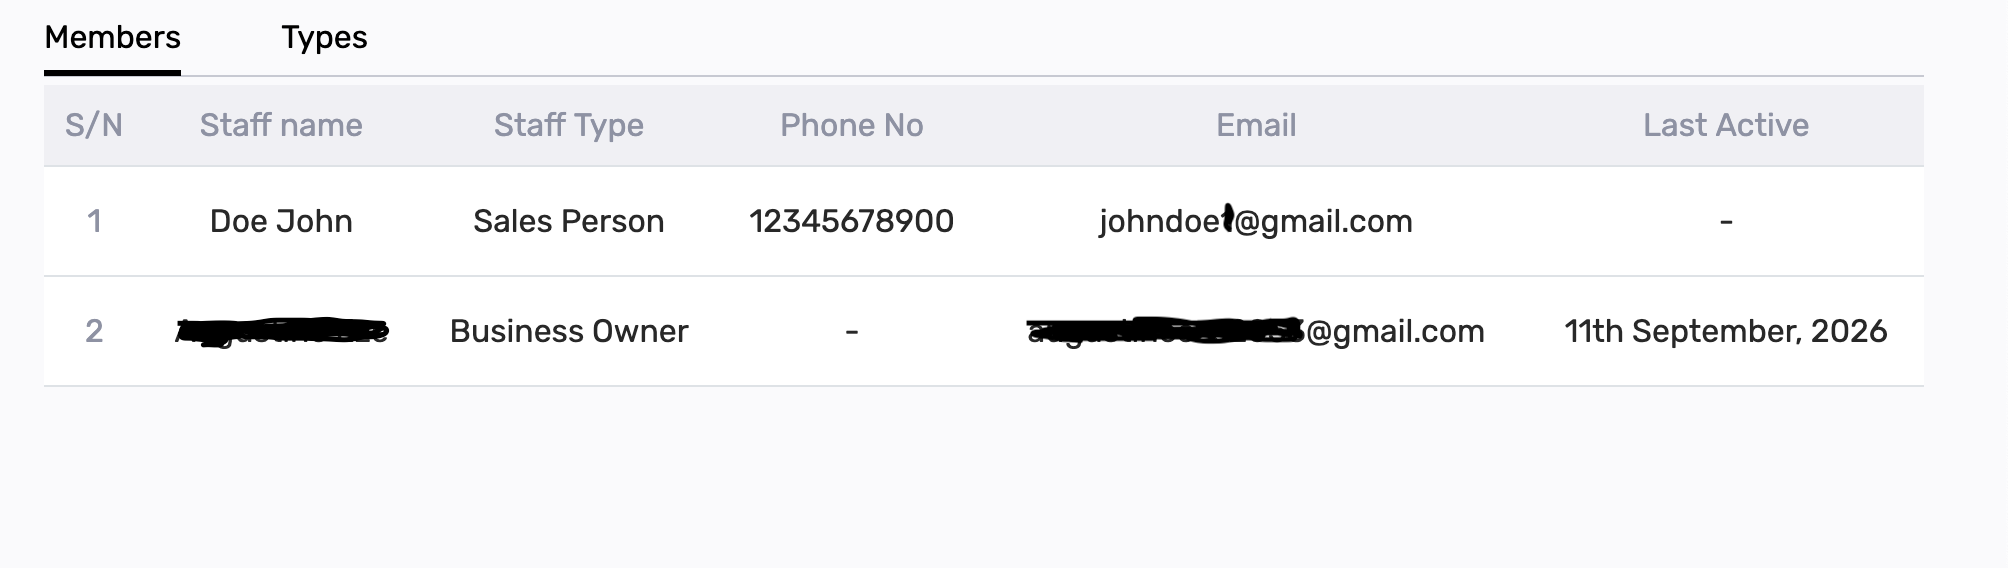
You return to the Staff page. The new person is on the Members list, with their name, Staff Type, phone, and email. Last Active stays blank until they log in for the first time.
Give them the email and password. They can now sign in and record sales — see How to record a sale on Posa.
Published by Posa Technologies · getposa.com
← More guides